How to Install AlmaLinux 8 OS
Download OS AlmaLinux 8
Here is a list of AlmaLinux mirror repositories:
Server Indonesia:
- Citrahost: mirror.citrahost.com
- DomaiNesia: linux.domainesia.com
- NevaCloud: mirror.nevacloud.com
- Jagoanhosting: vpsmurah.jagoanhosting.com
Server Singapore:
- SG.GS: mirror.sg.gs
- Neo Soon Keat: mirror.soonkeat.sg
- Jingkai Tan: mirror.jingk.ai
Server US:
- Phoenixnap: almamirror.phoenixnap.com
- Leaseweb: mirror.sfo12.us.leaseweb.net
- MIRhosting: mirror.us.mirhosting.net
- xTom: mirrors.xtom.com
For other locations can be checked on the following official AlmaLinux website https://mirrors.almalinux.org/
Install AlmaLinux mode GUI
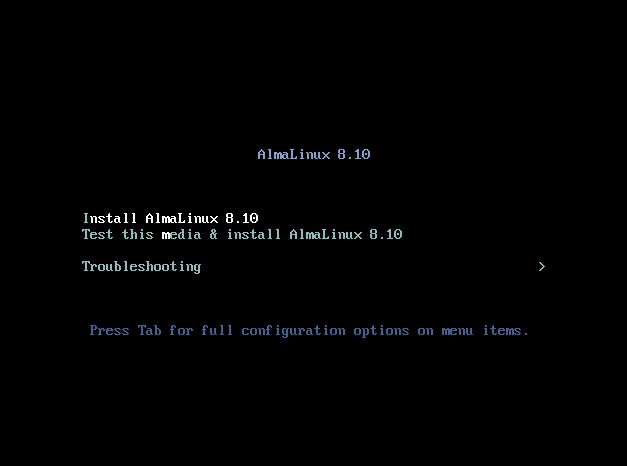
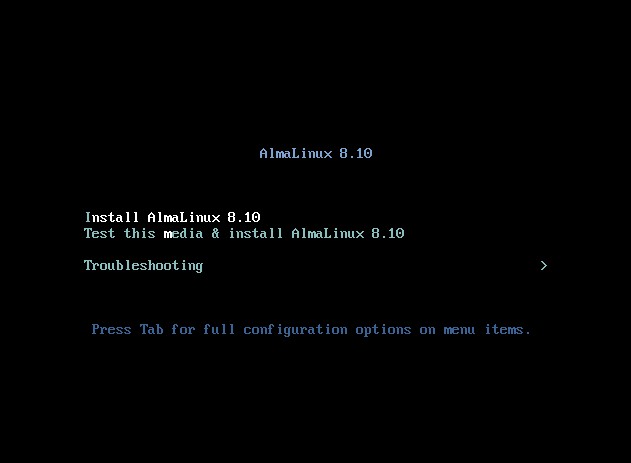
If a display like this appears please select Install AlmaLinux 8.10.
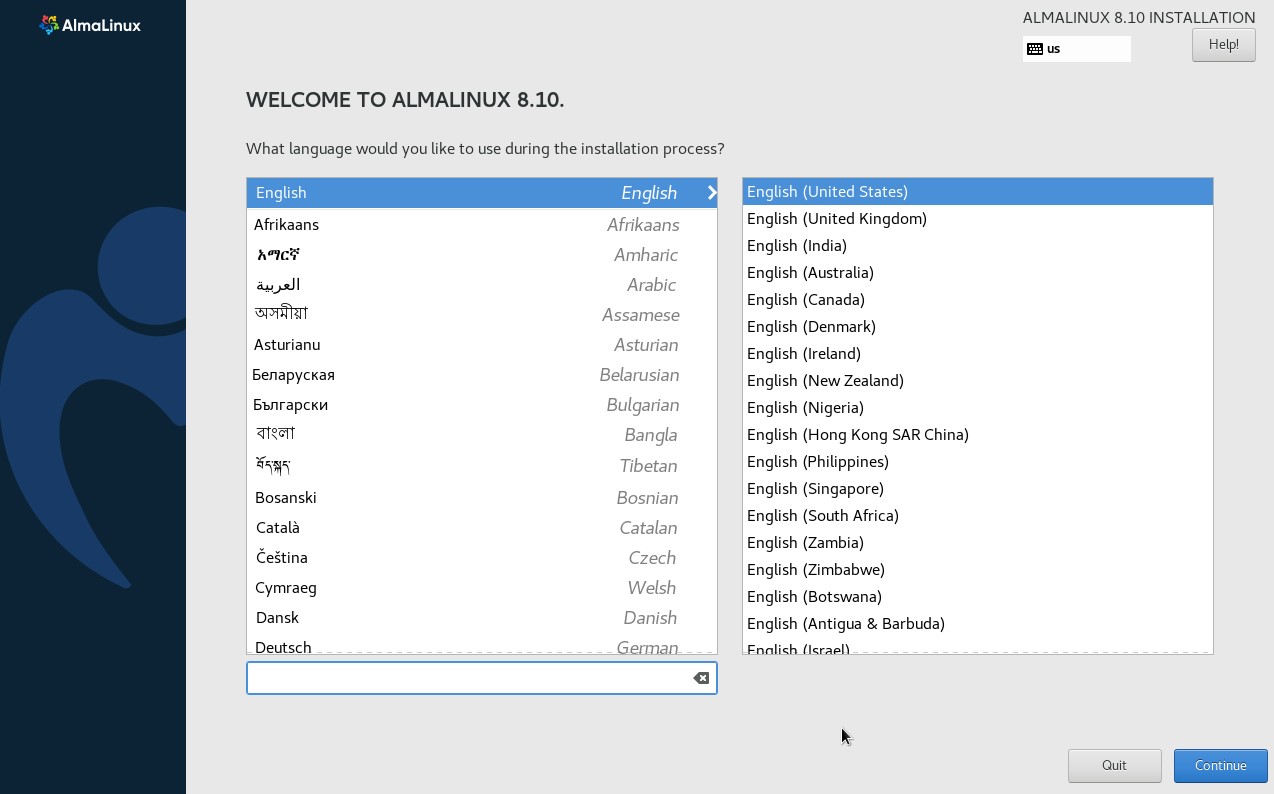
The next step is to choose the language, since I am used to using English then I choose English (United States) which is also the default choice.
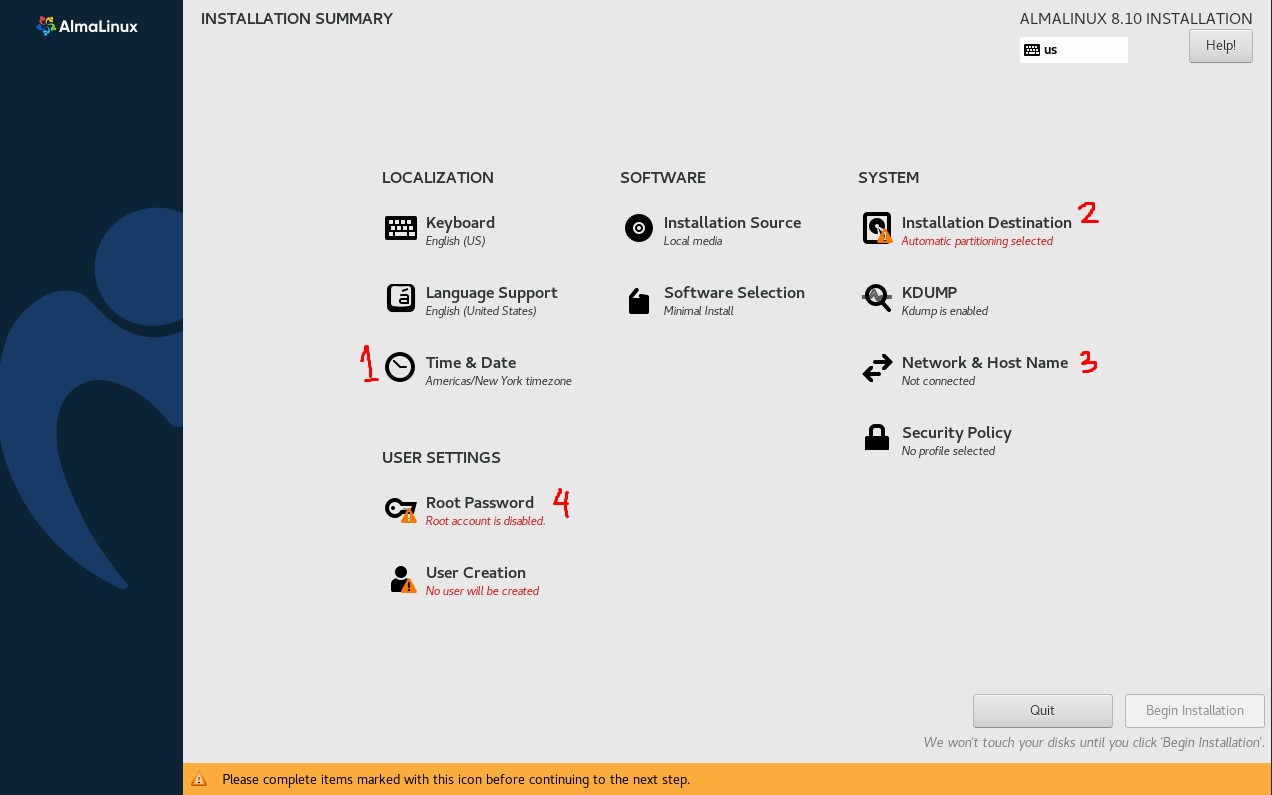
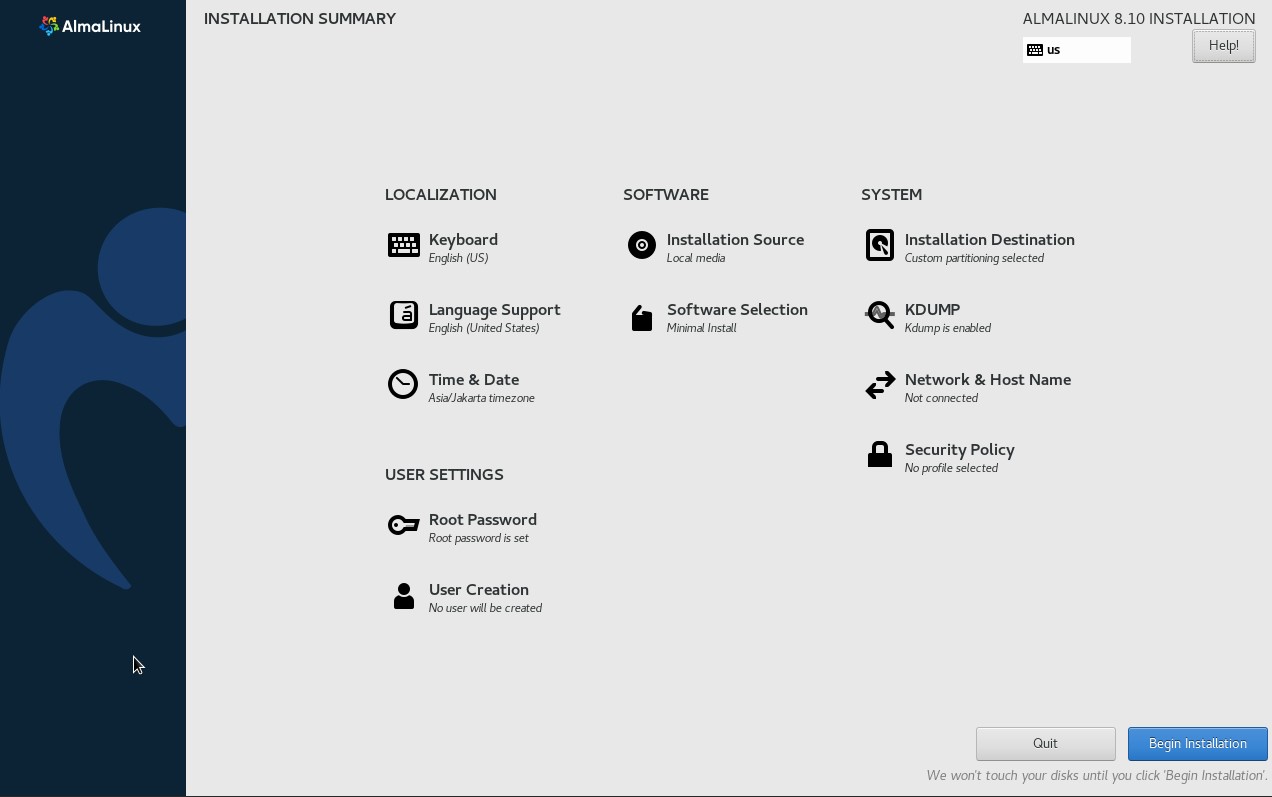
Here is the GUI mode installation view on AlmaLinux. Despite the GUI view, I will use the Minimal Install mode as it does not require a graphical GUI view for the server. When installing AlmaLinux the first thing I did was set the Timezone, Installation Destination, Network, and Root Password.
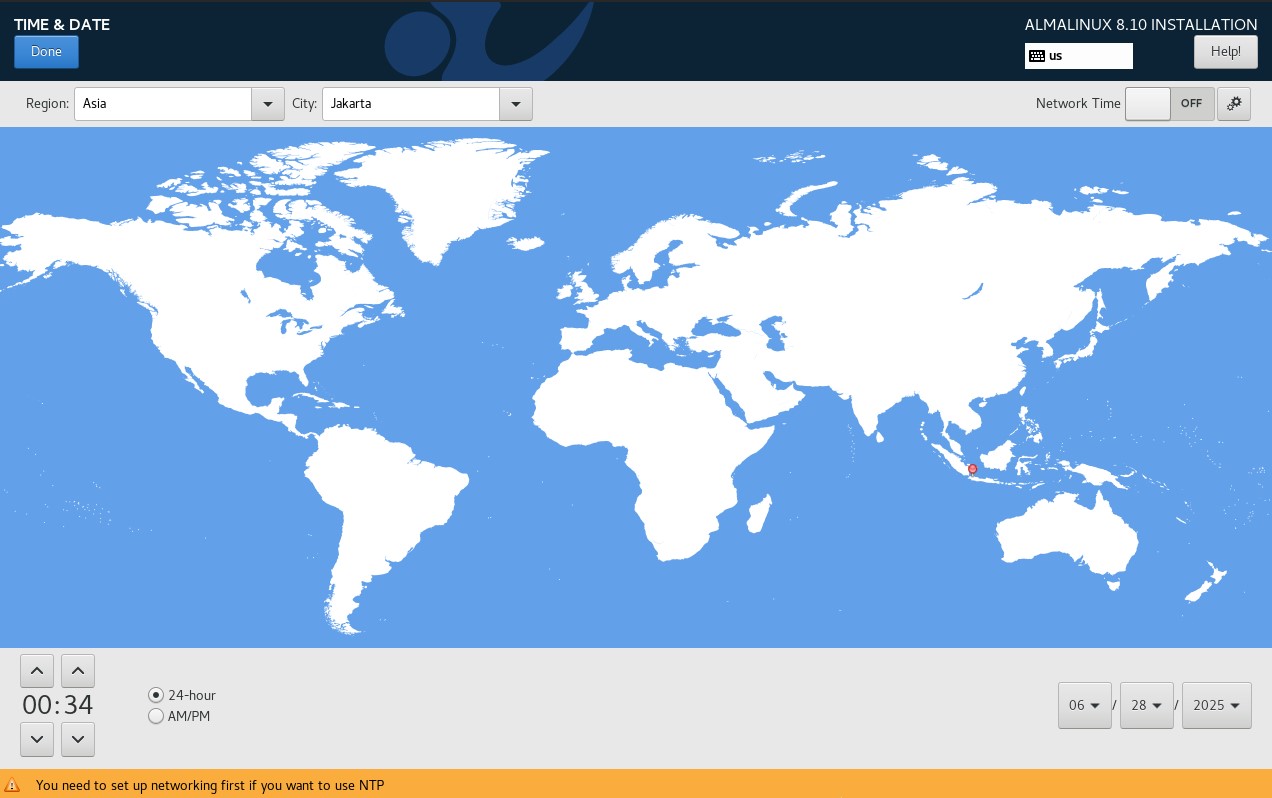
For timezone I used Region: Asia and City: Jakarta then click Done.
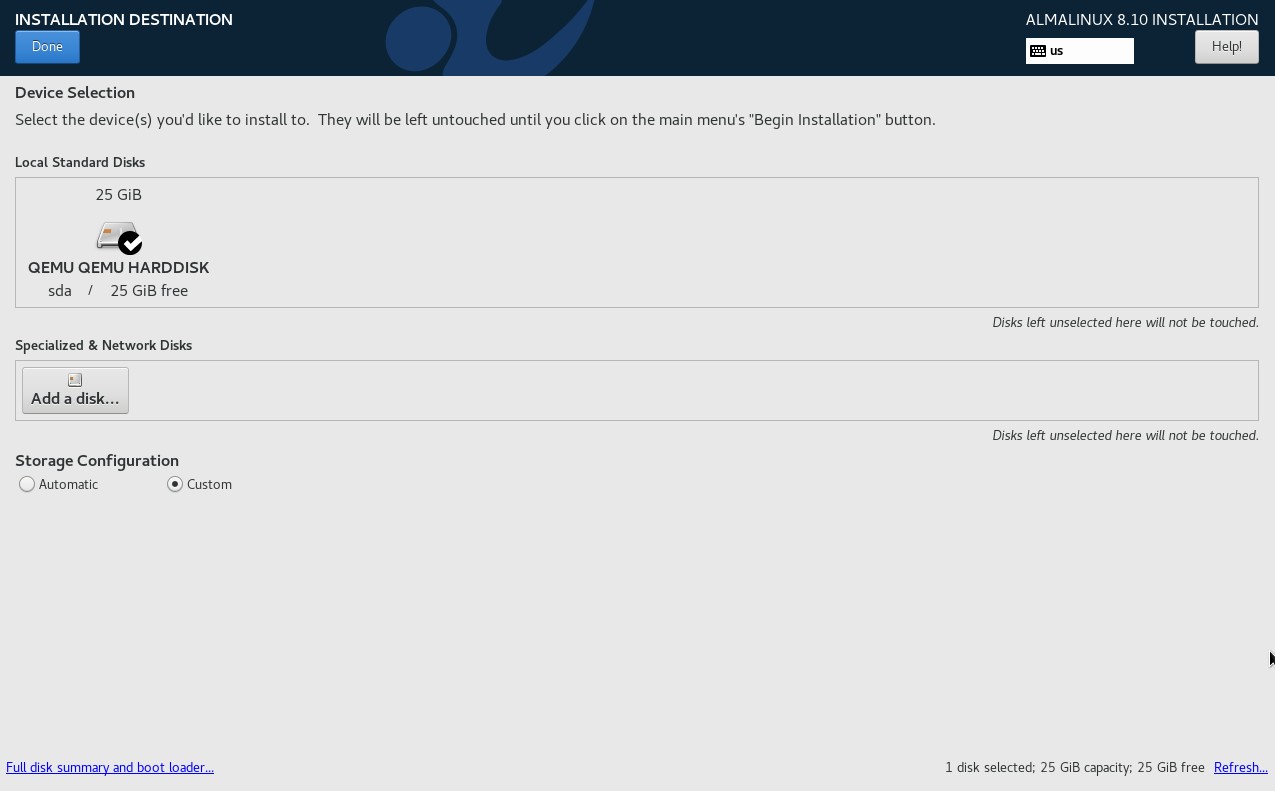
Next is setting the disk location, you can choose the Automatic mode but this time I will use the Custom mode and set the partition layout to make it easier to manage.
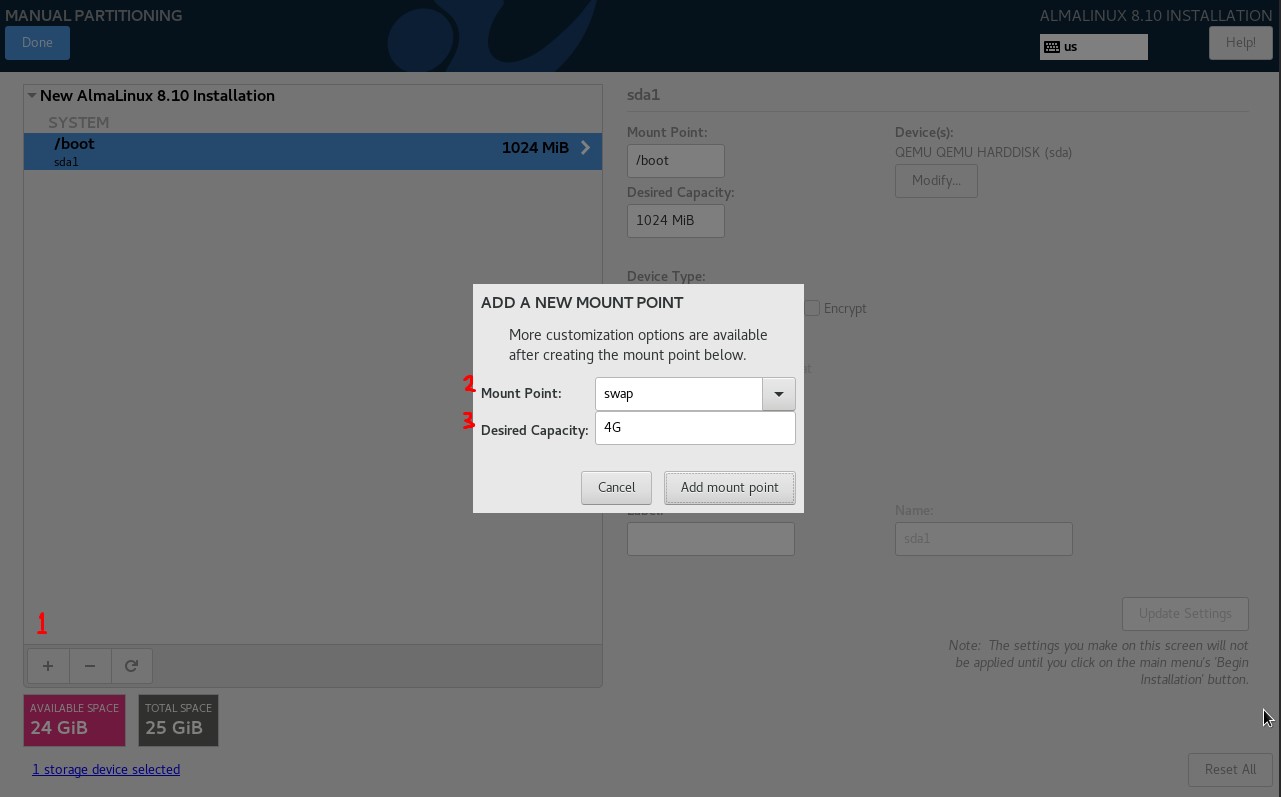
The first partition I will add is /boot of 1GB

The next partition is swap by 2x RAM. Since the current RAM is only 2GB then I will increase the size of swap by 2x which is 4GB
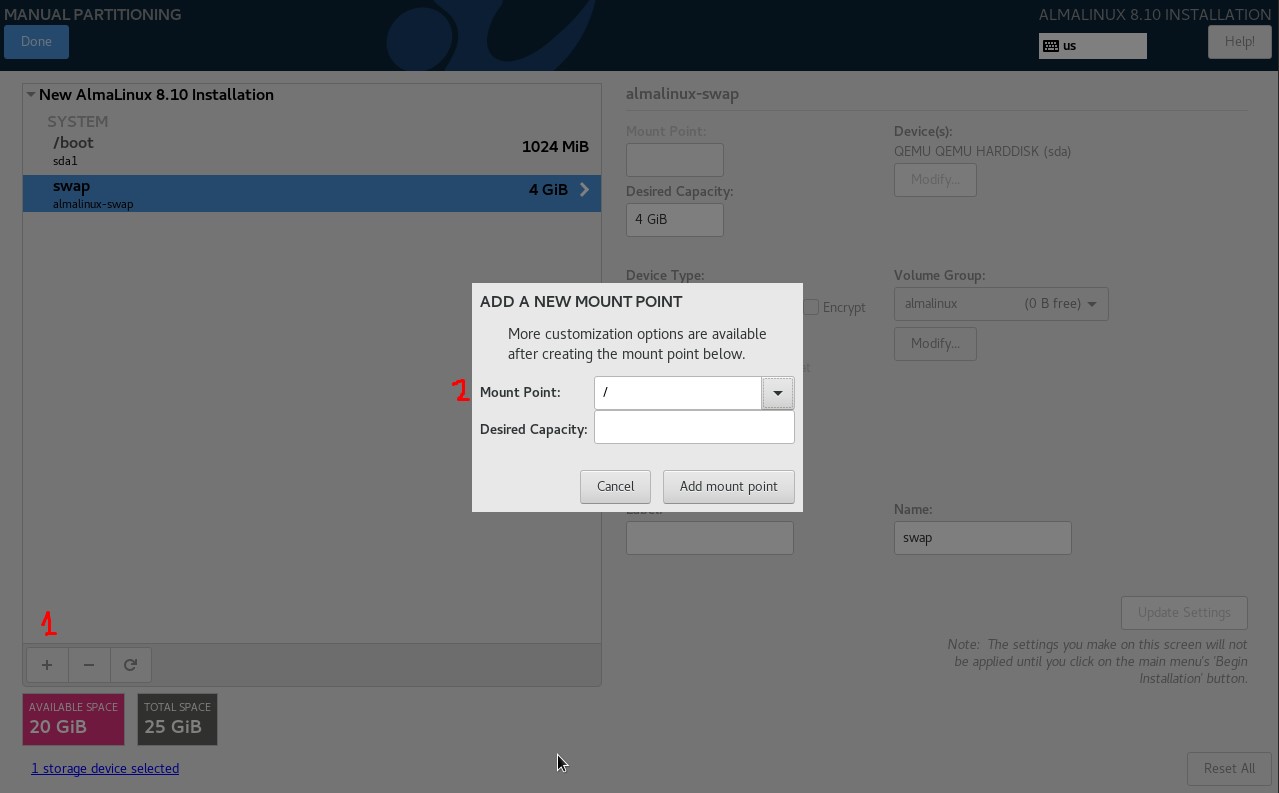
Then the last partition is root or / I will give all the remaining disks to this partition
You do not need to define the size of the root partition because if you leave this option blank, all remaining available disk will be automatically allocated.
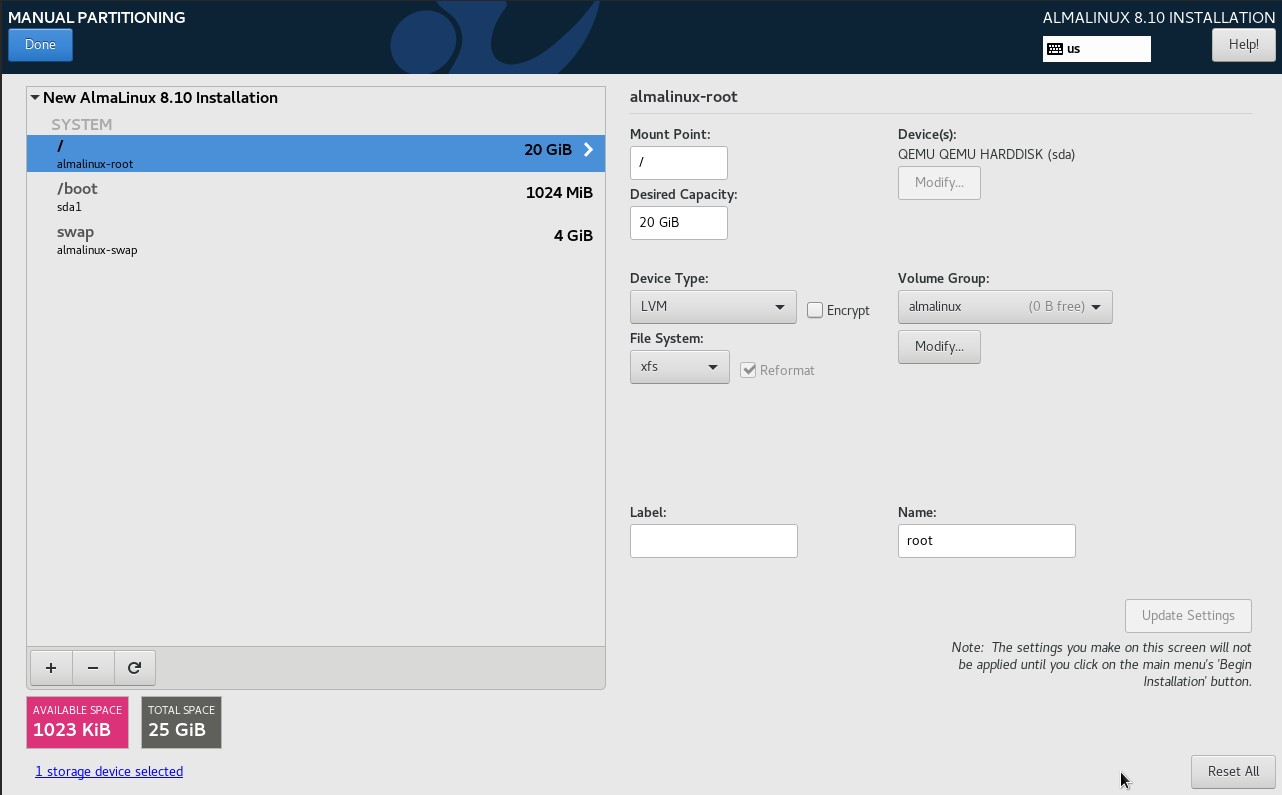
Here is the partition layout that has been created and will be used. By using a layout model like this it will be very easy when resizing root after completing the configuration click Done then a confirmation popup will appear to format the disk, please click Accept Changes.
The next step is to add a network, for Automatic DHCP as follows
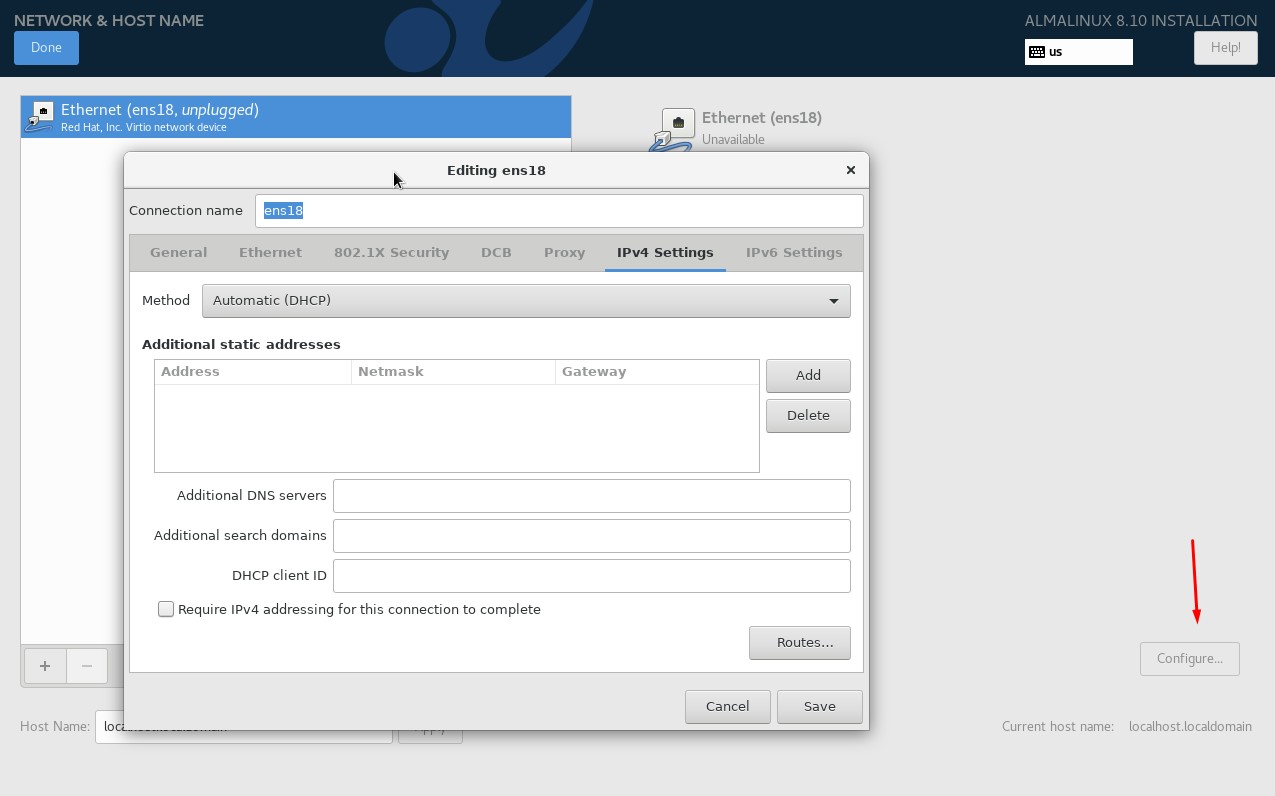
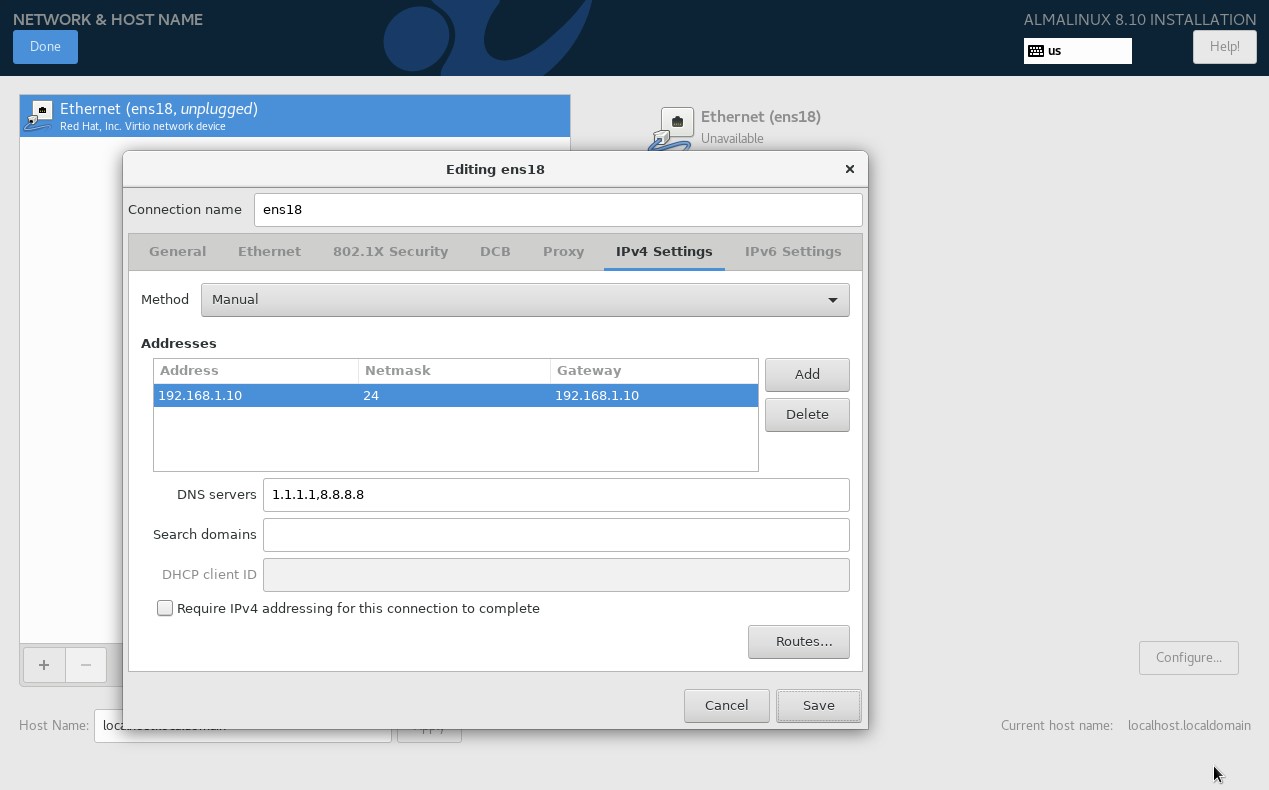
If you want to use static then configure as follows, please adjust the IP, Netmask/Prefix, Gateway, and DNS server
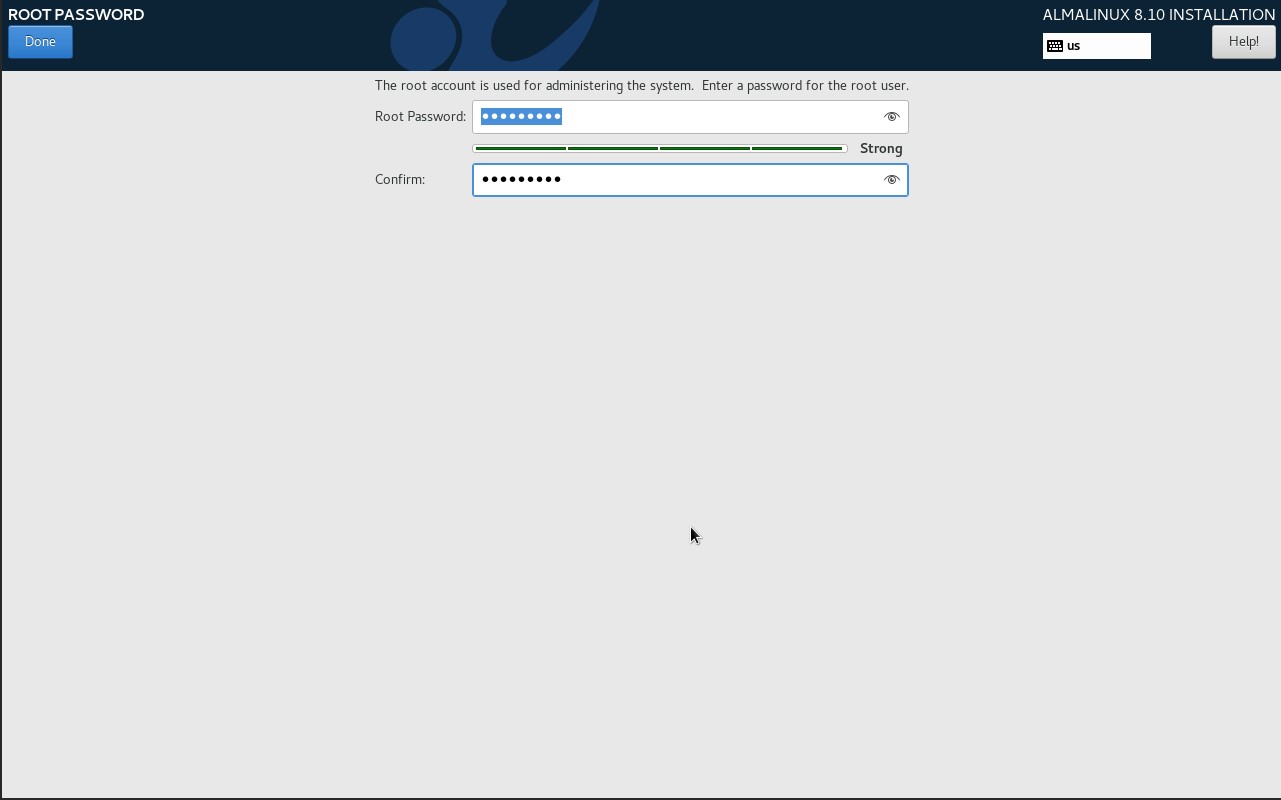
Then set the password root
Once everything is configured, the last step is to review and click Begin Installation.
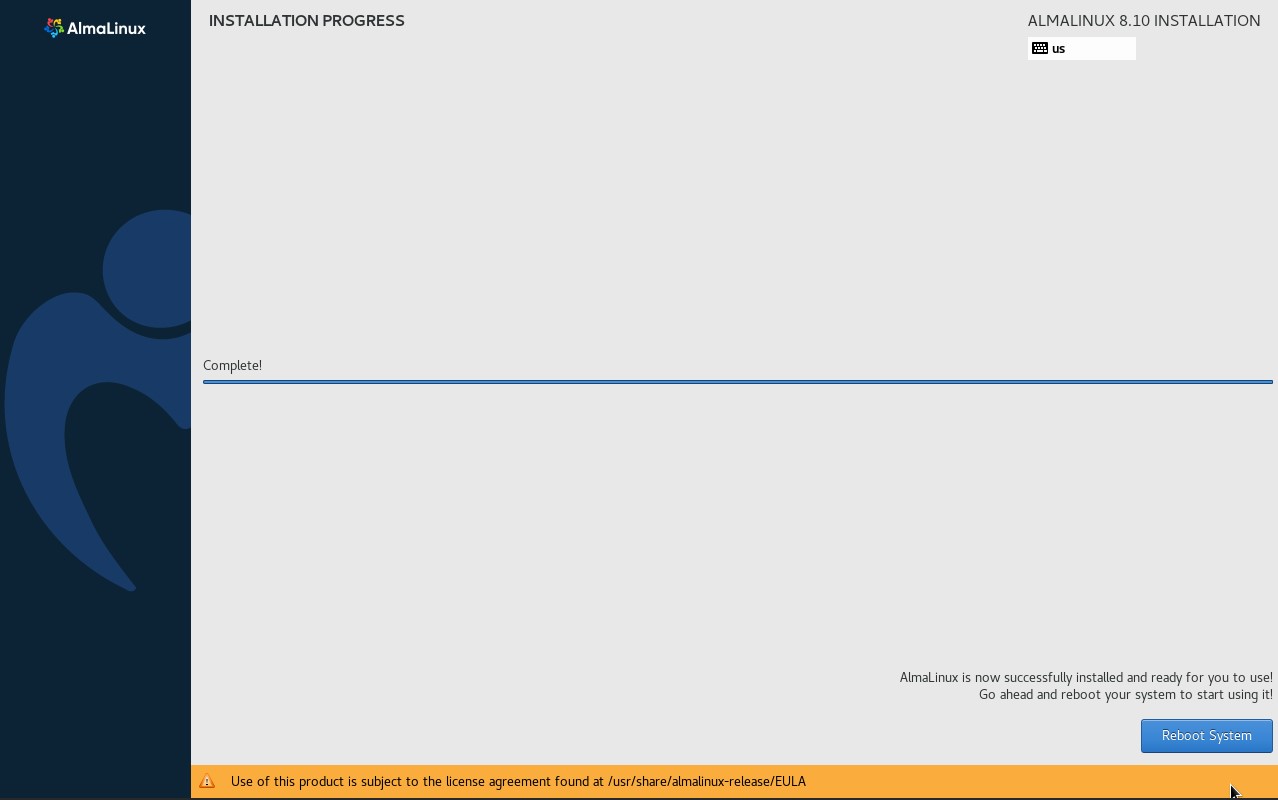
Wait for the installation to finish, then click Reboot System.
Install AlmaLinux mode CLI (Text Based)
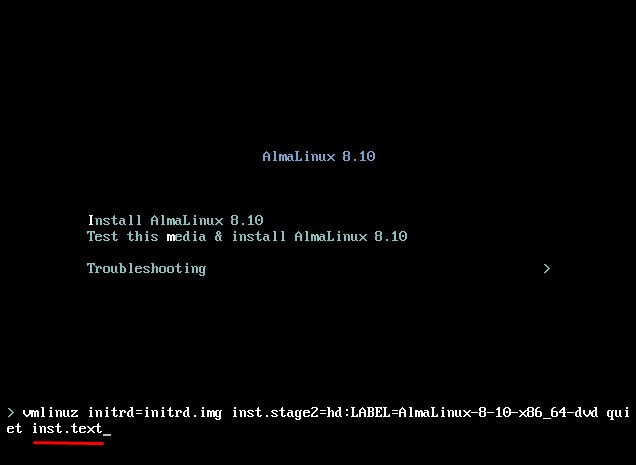
Press TAB during installation like this
Then add the inst.text parameter then press ENTER on the keyboard to start the installation
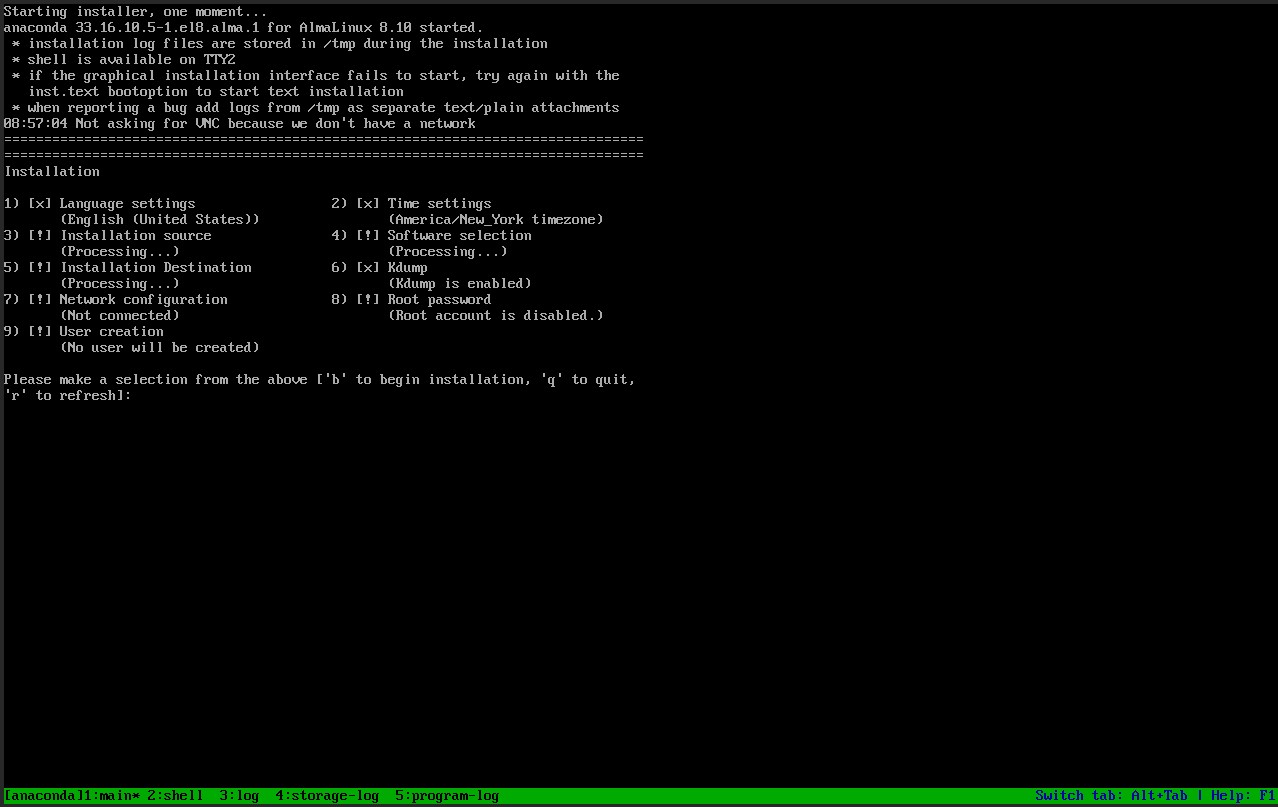
Here is how the installer looks using CLI mode. Please note the exclamation mark symbol (!) it is a symbol that must be configured
Setting Timezone, select the number 2 in the installer menu. Then select Timezone Asia
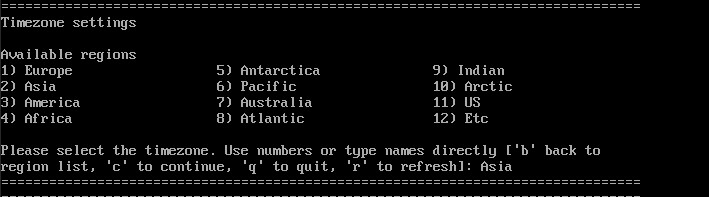
Then set the region to Jakarta and press ENTER to continue the configuration process.

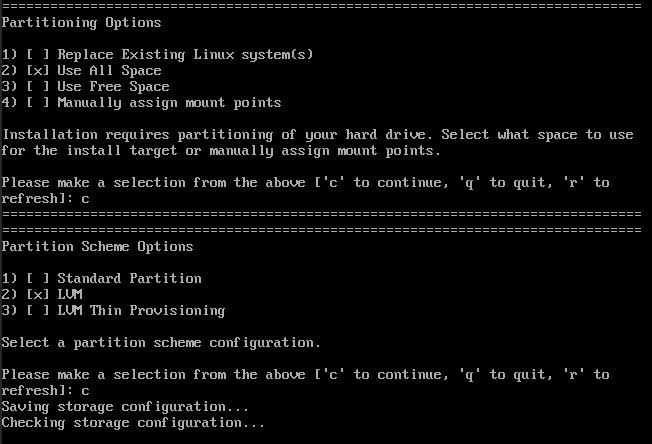
The next step is the partition setup, because the CLI is quite limited at this time we will directly partition the LVM mode. Please press the number 5 on the keyboard
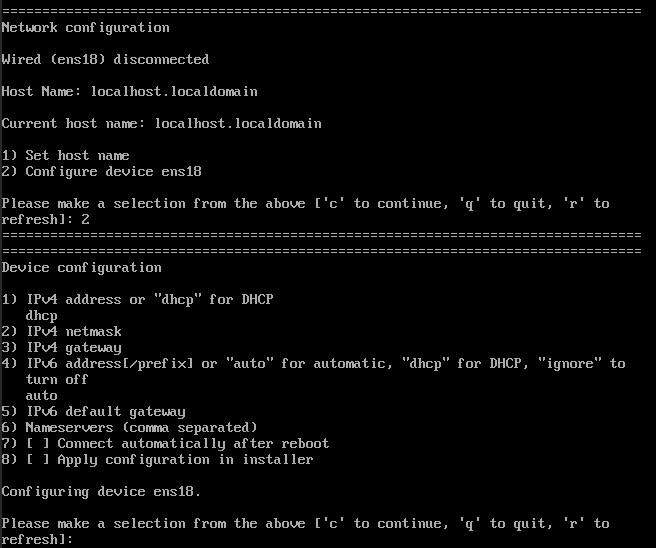
The next step is network configuration, press the number 7 on the keyboard to configure the network. You can choose STATIC or DHCP configuration, or if you are confused, you can configure it later when it is installed.
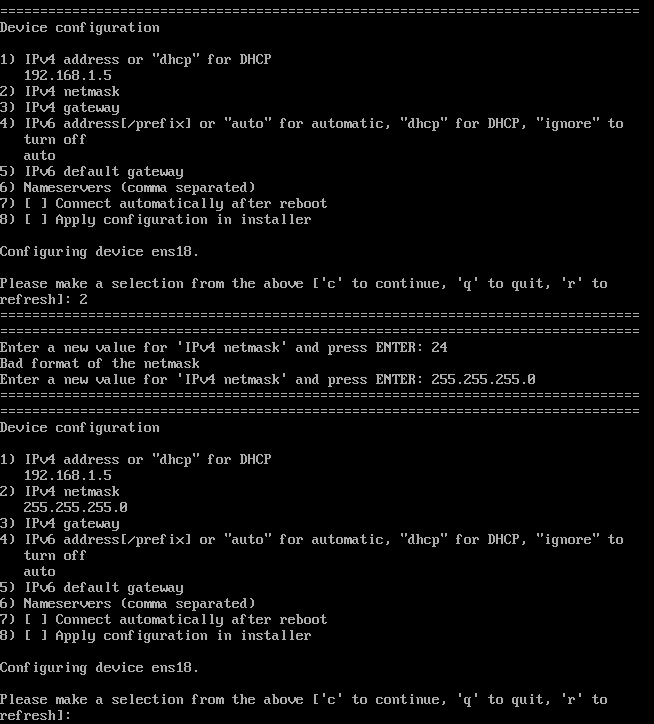
Set static IP
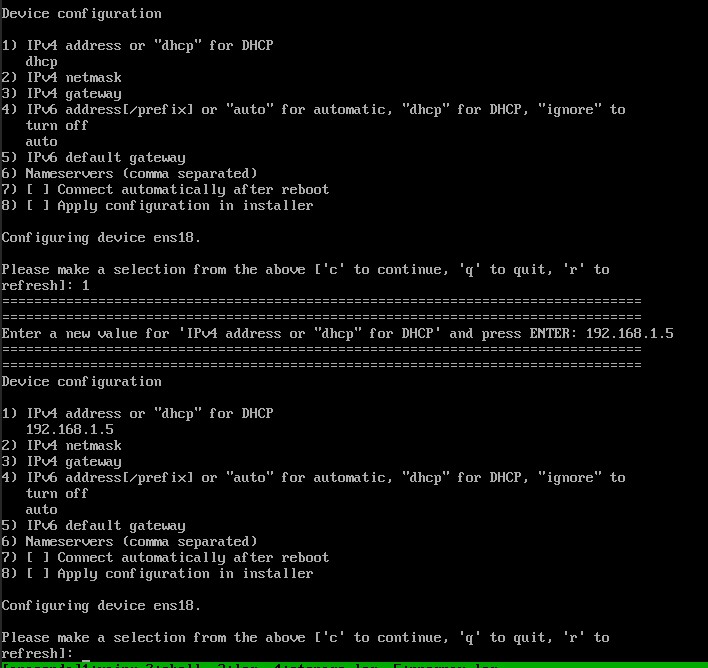
Then set the netmask
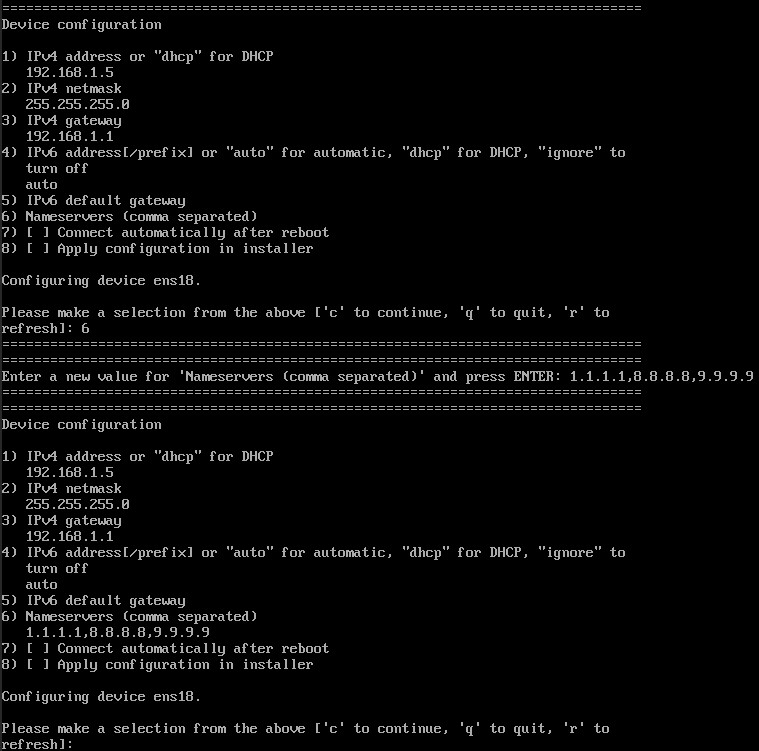
Then set the gateway

Then set the DNS server, and press c on the keyboard to complete the network configuration.
Set root password, please press the number 8 on the keyboard
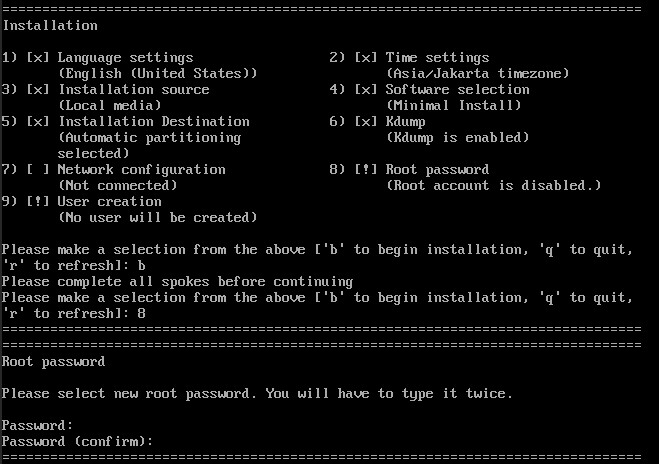
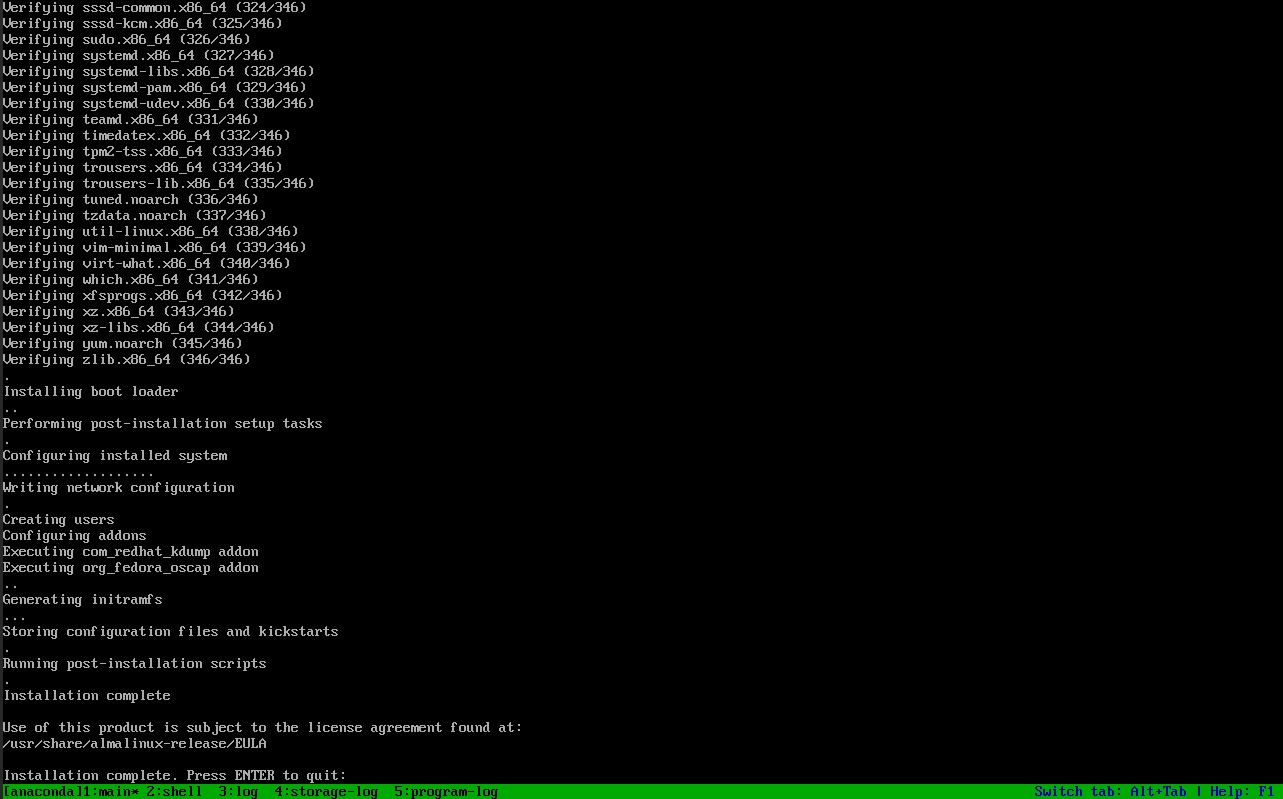
If the setup process is complete please press b on the keyboard to continue the installation. Wait for the installation process then press E to boot into the almalinux system
Tips Instalasi AlmaLinux via Remote
This note was written when installing AlmaLinux via remote using IDRAC, iLO, IPMI, or the like. Long story short, when we want to install AlmaLinux, it will be comfortable and easy to use the GUI mode and we can also set the disk layout using RAID Software (mdadm).
Unfortunately, in some situations, remote installations like this often have problems, especially with the connection from the client to the server when uploading ISO files. This can be caused by very slow network speeds. In the AlmaLinux installation mechanism, there are timeout settings that are important to note. By default, the AlmaLinux image initialization process has a timeout of about 60 seconds. If the image initialization process exceeds this time, AlmaLinux will automatically switch to Command Line Interface (CLI) or Text Based installation mode. This step is taken to avoid the risk of installation failure, taking into account that a slow connection can cause further problems in the installation process.
This time, I will discuss two important parameters that can be used to improve the installation experience. First, we will improve the timeout settings.
Second, we will implement a mechanism to load a temporary image into RAM before starting the installation process. In this way, we can speed up access to the installation files, thus reducing reliance on network speed during the installation process. The combination of these two approaches aims to improve the success and efficiency of the installation, ensuring that users can complete the process more smoothly and seamlessly.
When you first boot, please press TAB on the keyboard to add the parameters x.xtimeout and rd.live.ram after the quiet parameter as follows:
linuxefi ... quiet ... ins.xtimeout=3000 rd.live.ram
The result is like this:

After that you boot, then wait for the server to download the image and load it into RAM.