Complete Guide on How to Install EPrints using LAMP Stack on AlmaLinux 8
EPrints is an open-source digital repository software widely used by universities, research institutions, and large organizations to manage scientific publications. With the support of Apache Web Server, the AlmaLinux 8 operating system, and a stable database, we can build a fast, secure, and easily accessible repository. This guide will provide a detailed step-by-step guide on how to install EPrints on an AlmaLinux 8 server using Apache.
Prerequisites
- Full root access
- Domain (optional)
- Basic Linux Command Line
Preparation
Make sure the firewall and SELinux have been adjusted or temporarily disabled if you want to avoid problems during the initial installation.
Before starting the Shopware installation, make sure your AlmaLinux 8 server is up to date and ready to install the LAMP Stack (Linux, Apache, MariaDB, PHP).
dnf update -y
dnf install epel-release -y
Install Apache
Apache is a reliable web server and is widely used in production environments. To install it, run the following command:
dnf install httpd -y
Once the installation is complete, enable and start the Apache service with the following command:
systemctl enable --now httpd
To allow access to the server via HTTP and HTTPS, allow the firewall:
firewall-cmd --permanent --add-service={http,https}
firewall-cmd --reload
Install Perl
EPrints requires several dependency packages, such as Perl modules and additional libraries. We can install them with the following command:
dnf config-manager --set-enabled powertools
dnf install libxml2 libxslt httpd mod_perl perl-Apache-DBI perl-DBI perl-DBD-MySQL perl-IO-Socket-SSL \
    perl-Time-HiRes perl-CGI perl-Digest-MD5 perl-Digest-SHA perl-Digest-SHA1 perl-JSON perl-XML-LibXML \
    perl-XML-LibXSLT perl-XML-SAX perl-MIME-Lite perl-Text-Unidecode perl-JSON perl-Unicode-Collate \
    perl-LWP-Protocol-https perl-IO-String tetex-latex wget gzip tar ImageMagick poppler-utils \
    chkconfig unzip cpan python3-html2text expat-devel libxslt-devel
Install MariaDB
MariaDB is a replacement for MySQL and is compatible with MySQL-based applications. Run the following command to install it:
dnf module list mariadb
Output example:
AlmaLinux 8 - AppStream
Name                                Stream                               Profiles                                               Summary
mariadb                             10.3 [d]                             client, galera, server [d]                             MariaDB Module
mariadb                             10.5                                 client, galera, server [d]                             MariaDB Module
mariadb                             10.11                                client, galera, server [d]                             MariaDB Module

Hint: [d]efault, [e]nabled, [x]disabled, [i]nstalled
The output above shows that the default version of MariaDB is 10.11 (the latest version from the OS). However, we'll use MariaDB version 11.4.7 using the official repository at https://mariadb.org/download/ and then reset MariaDB to remove it from the OS's default repository:
dnf module reset mariadb
Run the following command to add the MariaDB version 11.4.7 repository:
nano /etc/yum.repos.d/MariaDB.repo
Add the following parameters:
# MariaDB 11.4 RedHatEnterpriseLinux repository list - created 2025-07-31 14:04 UTC
# https://mariadb.org/download/
[mariadb]
name = MariaDB
# rpm.mariadb.org is a dynamic mirror if your preferred mirror goes offline. See https://mariadb.org/mirrorbits/ for details.
# baseurl = https://rpm.mariadb.org/11.4/rhel/$releasever/$basearch
baseurl = https://mirror.its.dal.ca/mariadb/yum/11.4/rhel/$releasever/$basearch
module_hotfixes = 1
# gpgkey = https://rpm.mariadb.org/RPM-GPG-KEY-MariaDB
gpgkey = https://mirror.its.dal.ca/mariadb/yum/RPM-GPG-KEY-MariaDB
gpgcheck = 1
Then run the following command to install MariaDB:
dnf install MariaDB-server MariaDB-client
Enable and activate the MariaDB service:
systemctl enable --now mariadb
systemctl status mariadb
Before using it for production or testing, it is best to secure the MariaDB installation first by running the following command:
mariadb-secure-installation
Then follow the instructions that appear:
- Enter current password for root (enter for none) → [ENTER]
- Switch to unix_socket authentication → Y
- Change the root password? → Y
- Remove anonymous users? → Y
- Disallow root login remotely? Y
- Remove test database and access to it? Y
- Reload privilege tables now? Y
Install EPrints
Before installing EPrints version 3.4.6, we will create a user called eprints. This user will run the EPrints installation script and create the database and virtual host.
Create the eprints user:
adduser eprints
usermod -aG apache eprints
usermod -aG eprints apache
Download the EPrints file and place it in the appropriate virtualhost directory:
mkdir /opt/eprints3
chown eprints:eprints /opt/eprints3
chmod 2775 /opt/eprints3
su eprints
git clone https://github.com/eprints/eprints3.4.git /opt/eprints3
cd /opt/eprints3
git checkout tags/v3.4.6
Run the following command for EPrints installation:
cd /opt/eprints3
bin/epadmin create pub
Here is an example of the output of the EPrints installation instructions:
Archive ID? repo
Configure vital settings? [yes] ? [ENTER]
Hostname? focusnic.biz.id
Webserver Port [80] ? [ENTER]
Path [/] ? [ENTER]
HTTPS Hostname [] ? [ENTER]
Administrator Email? admin@focusnic.biz.id
Archive Name [Test Repository] ? Focusnic Repository
Organisation Name [Organisation of Test] ? IT
Write these core settings? [yes] ? [ENTER]
Configure database? [yes] ? [ENTER]
Configuring Database for: repo
Database Name [repo] ? [ENTER]
MySQL Host [localhost] ? [ENTER]
MySQL Port (# for no setting) [#] ? [ENTER]
MySQL Socket (# for no setting) [#] ? [ENTER]
Database User [repo] ? [ENTER]
Database Password [Lwzkn1VBYwLdCdlv] ? [ENTER]
Database Engine [InnoDB] ? [ENTER]
Write these database settings? [yes] ? [ENTER]
Create database "repo" [yes] ? [ENTER]
Database Superuser Username [root] ? [ENTER]
Database Superuser Password? [ROOT_PASSWORD]
Create database tables? [yes] ? [ENTER]
Create an initial user? [yes] ? [ENTER]
Enter a username [admin] ? [ENTER]
Select a user type (user|editor|admin) [admin] ? [ENTER]
Enter Password? [STRONG_PASSWORD]
Email? admin@focusnic.biz.id
Do you want to build the static web pages? [yes] ? [ENTER]
Do you want to import the LOC subjects and sample divisions? [yes] ? [ENTER]
Do you want to update the apache config files? (you still need to add the 'Include' line) [yes] ? [ENTER]
Wrote /opt/eprints3/cfg/apache.conf
Wrote /opt/eprints3/cfg/apache_ssl.conf
Wrote /opt/eprints3/cfg/perl_module_isolation.conf
Wrote /opt/eprints3/cfg/perl_module_isolation_vhost.conf
Wrote /opt/eprints3/cfg/apache/repo.conf
Then add the following EPrints virtualhost configuration with the user root and restart Apache to save the changes:
exit
echo "Include /opt/eprints3/cfg/apache.conf" >> /etc/httpd/conf/httpd.conf
systemctl restart httpd
systemctl status httpd
Please access the EPrints installation in the browser by typing the domain name or IP.
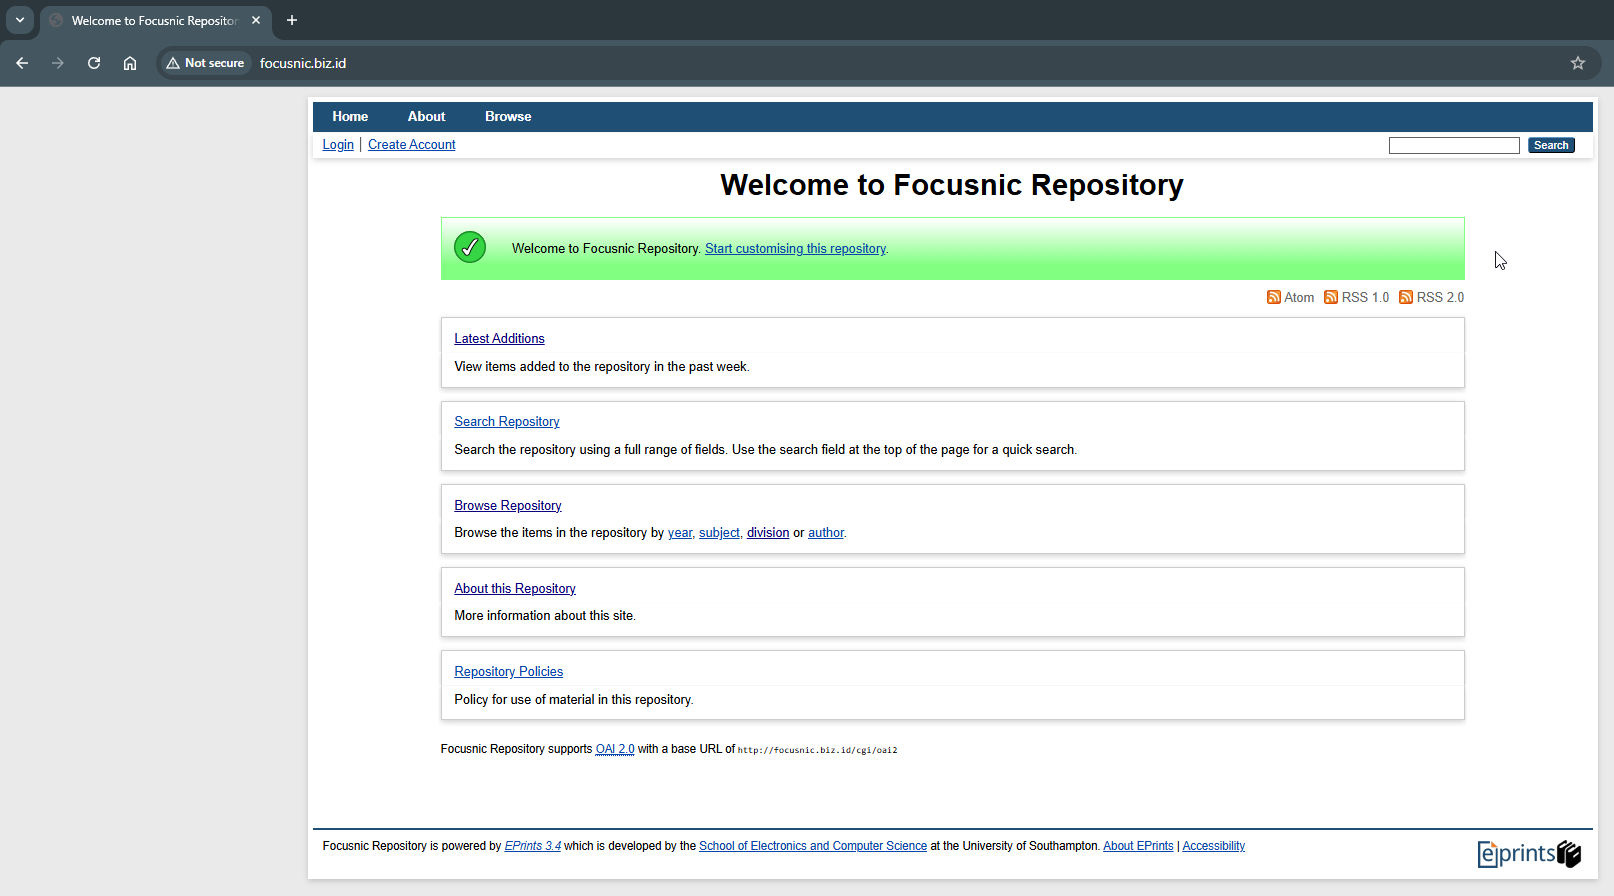
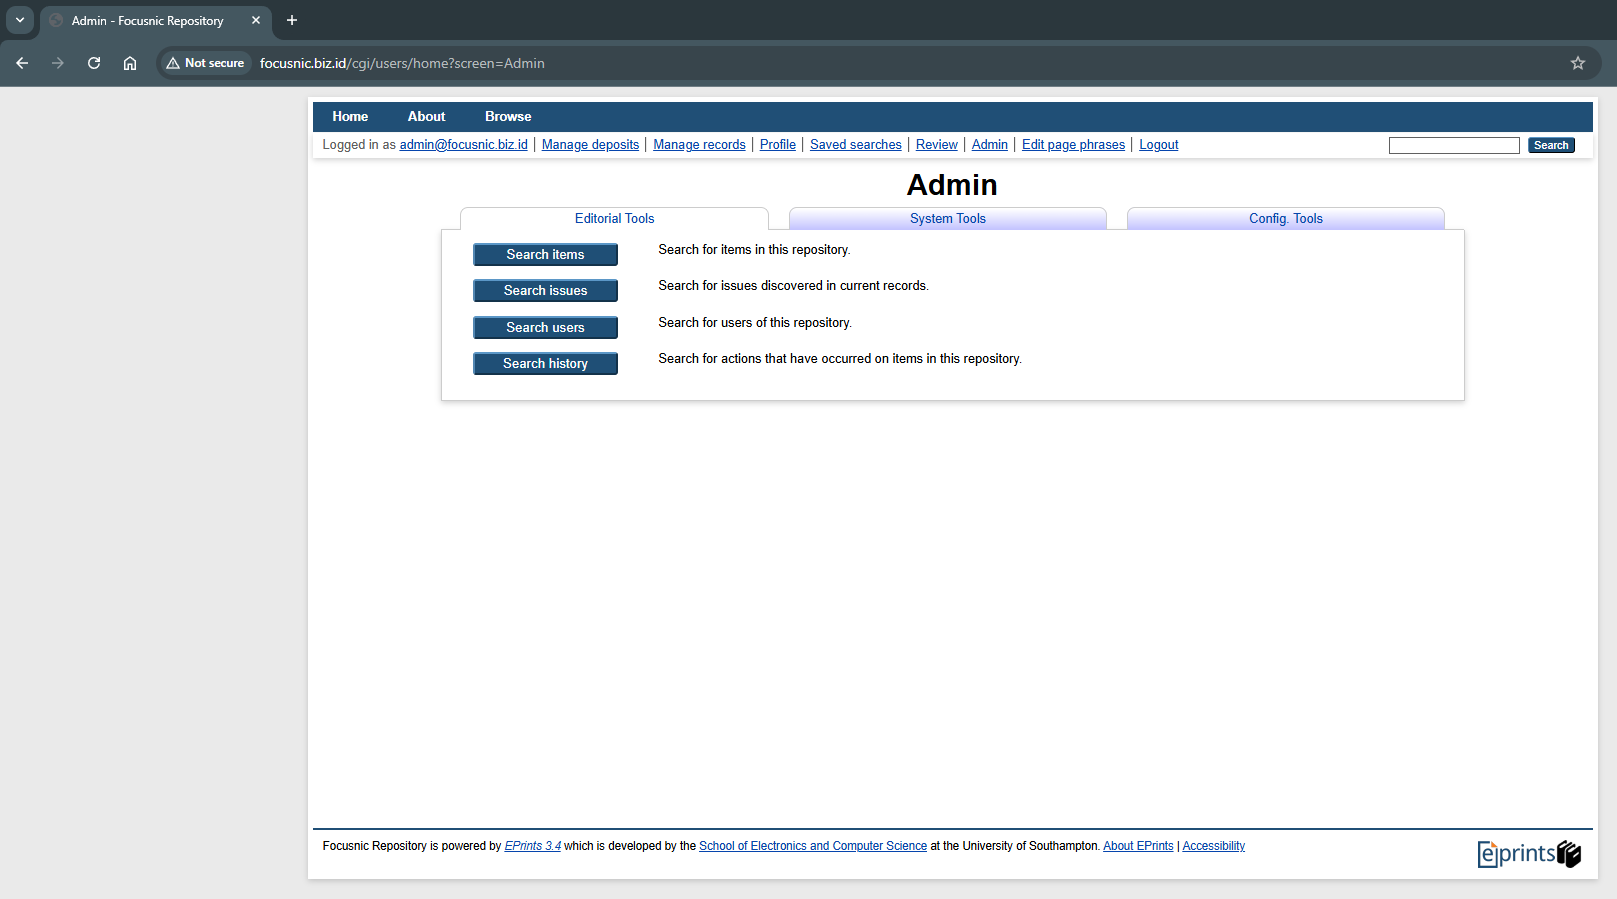
Access the EPrints admin page via http://$DOMAIN/cgi/users/home
SSL
Enable SSL for EPrints for additional security using Let's Encrypt SSL via Certbot. Run the following command to install the certbot dependencies:
dnf install certbot python3-certbot-apache -y
systemctl restart httpd
Then request SSL by running the following command:
certbot --non-interactive -m admin@focusnic.biz.id --agree-tos --no-eff-email --apache certonly -d focusnic.biz.id
The SSL files will be saved in the following directory:
Certificate is saved at: /etc/letsencrypt/live/focusnic.biz.id/fullchain.pem
Key is saved at:         /etc/letsencrypt/live/focusnic.biz.id/privkey.pem
Then add HTTPS virtualhost to the following file:
nano /opt/eprints3/cfg/apache/repo.conf
Add the following parameters at the very bottom after the HTTP virtualhost:
<VirtualHost *:443>
    ServerName focusnic.biz.id
    ServerAdmin admin@focusnic.biz.id

    SSLEngine on
    SSLProtocol all -SSLv2 -SSLv3 -TLSv1 -TLSv1.1
    SSLHonorCipherOrder on
    SSLCipherSuite ECDHE-ECDSA-AES256-GCM-SHA384:ECDHE-RSA-AES256-GCM-SHA384:ECDHE-ECDSA-CHACHA20-POLY1305:ECDHE-RSA-CHACHA20-POLY1305:ECDHE-ECDSA-AES128-GCM-SHA256:ECDHE-RSA-AES128-GCM-SHA256:ECDHE-ECDSA-AES256-SHA384:ECDHE-RSA-AES256-SHA384:ECDHE-ECDSA-AES128-SHA256:ECDHE-RSA-AES128-SHA256

    SSLCertificateFile /etc/letsencrypt/live/focusnic.biz.id/fullchain.pem
    SSLCertificateKeyFile /etc/letsencrypt/live/focusnic.biz.id/privkey.pem

    SetEnvIf User-Agent ".*MSIE.*" \
        nokeepalive ssl-unclean-shutdown \
        downgrade-1.0 force-response-1.0

    <Location "">
      PerlSetVar EPrints_ArchiveID repo

      Options +ExecCGI
      <IfModule mod_authz_core.c>
         Require all granted
      </IfModule>
      <IfModule !mod_authz_core.c>
         Order allow,deny
         Allow from all
      </IfModule>
    </Location>

    LimitRequestBody 1073741824
    PerlTransHandler +EPrints::Apache::Rewrite

    Include /opt/eprints3/cfg/perl_module_isolation_vhost.conf

    ErrorLog /var/log/httpd/focusnic.biz.id-error.log
    CustomLog /var/log/httpd/focusnic.biz.id-access.log combined
</VirtualHost>
Run the following command to regenerate the virtualhost:
/opt/eprints3/bin/generate_apacheconf --system --replace
Output example:
Wrote /opt/eprints3/cfg/apache.conf
Wrote /opt/eprints3/cfg/apache_ssl.conf
Wrote /opt/eprints3/cfg/perl_module_isolation.conf
Wrote /opt/eprints3/cfg/perl_module_isolation_vhost.conf
Wrote /opt/eprints3/cfg/apache/repo.conf

You must restart apache for any changes to take effect!
Then restart Apache using the root user to save the changes:
exit
apachectl configtest
systemctl restart httpd
Then access EPrints using the domain https://$DOMAIN

Troubleshooting
- Error readdir() attempted on invalid dirhandle LIB in EPrints
Cause: Running epadmin from the wrong folder (for example inpublic_html) so EPrints does not findperl_lib. The solution is always run the command from the core installation folder:
cd /opt/eprints3
bin/epadmin create pub
- Incomplete Perl Modules
EPrints 3.4.6 requires additional modules (CGI, JSON, LWP). Run the following command to install them correctly.
dnf config-manager --set-enabled powertools
dnf install libxml2 libxslt httpd mod_perl perl-Apache-DBI perl-DBI perl-DBD-MySQL perl-IO-Socket-SSL \
    perl-Time-HiRes perl-CGI perl-Digest-MD5 perl-Digest-SHA perl-Digest-SHA1 perl-JSON perl-XML-LibXML \
    perl-XML-LibXSLT perl-XML-SAX perl-MIME-Lite perl-Text-Unidecode perl-JSON perl-Unicode-Collate \
    perl-LWP-Protocol-https perl-IO-String tetex-latex wget gzip tar ImageMagick poppler-utils \
    chkconfig unzip cpan python3-html2text expat-devel libxslt-devel
- Error: mod_perl cannot handle dir_perms parameter EPrints
To fix this, please edit the following file lib/syscfg.d/core.pl and set $c->{dir_perms} as follows:
nano /opt/eprints3/lib/syscfg.d/core.pl
Change it to the following value:
$c->{dir_perms} = '0775';
Conclusion
Installing EPrints using Apache on AlmaLinux 8 is a crucial step in building a modern, globally accessible scientific repository. With this guide, everything from server preparation, Apache installation, MariaDB database configuration, dependency installation, and repository setup can be done systematically.
Q: Can E-Prints run on AlmaLinux versions other than version 8?
A: Yes, EPrints can run on AlmaLinux 9 or CentOS/RHEL, but this tutorial focuses on AlmaLinux 8 due to its stability and extensive community support.
Q: Is it mandatory to use Apache for EPrints?
A: EPrints is designed to run with Apache Web Server, so it is recommended to use Apache rather than Nginx for greater compatibility.
Q: What's the difference between epadmin create archive and epadmin create zero?
A:
archive→ used to create a full scientific repository.zero→ empty template (usually for development/testing).
Further References: