Complete Guide on How to Install Shopware using LAMP Stack on AlmaLinux 8
Shopware is a modern PHP-based e-commerce platform that offers high flexibility, comprehensive features, and optimal performance. To run it optimally, proper server configuration is required, one of which is using the LAMP Stack (Linux, Apache, MySQL/MariaDB, PHP). In this guide, we will discuss step by step how to install Shopware on AlmaLinux 8 using the LAMP Stack in detail until it is ready for use in a production environment.
Prerequisites
- Full root access
- Domain (optional)
- Basic Linux Command Line
Preparation
Make sure the firewall and SELinux have been adjusted or temporarily disabled if you want to avoid problems during the initial installation.
Before starting the Shopware installation, make sure your AlmaLinux 8 server is up to date and ready to install the LAMP Stack (Linux, Apache, MariaDB, PHP).
dnf update -y
dnf install epel-release -y
Install Apache
Apache is a reliable web server and is widely used in production environments. To install it, run the following command:
dnf install httpd -y
Once the installation is complete, enable and start the Apache service with the following command:
systemctl enable --now httpd
To allow access to the server via HTTP and HTTPS, allow the firewall:
firewall-cmd --permanent --add-service={http,https}
firewall-cmd --reload
Install PHP
PHP (Hypertext Preprocessor) is a server-side programming language that is crucial in this stack. We will install PHP 8 from the Remi Repository to use the latest version of PHP.
Run the following command to install the Remi Repository:
dnf install -y https://rpms.remirepo.net/enterprise/remi-release-8.rpm
Then list the available PHP using the following command:
dnf module list php
Output example:
AlmaLinux 8 - AppStream
Name                            Stream                              Profiles                                              Summary
php                             7.2 [d]                             common [d], devel, minimal                            PHP scripting language
php                             7.3                                 common [d], devel, minimal                            PHP scripting language
php                             7.4                                 common [d], devel, minimal                            PHP scripting language
php                             8.0                                 common [d], devel, minimal                            PHP scripting language
php                             8.2                                 common [d], devel, minimal                            PHP scripting language

Remi's Modular repository for Enterprise Linux 8 - x86_64
Name                            Stream                              Profiles                                              Summary
php                             remi-7.2                            common [d], devel, minimal                            PHP scripting language
php                             remi-7.3                            common [d], devel, minimal                            PHP scripting language
php                             remi-7.4                            common [d], devel, minimal                            PHP scripting language
php                             remi-8.0                            common [d], devel, minimal                            PHP scripting language
php                             remi-8.1                            common [d], devel, minimal                            PHP scripting language
php                             remi-8.2                            common [d], devel, minimal                            PHP scripting language
php                             remi-8.3                            common [d], devel, minimal                            PHP scripting language
php                             remi-8.4                            common [d], devel, minimal                            PHP scripting language

Hint: [d]efault, [e]nabled, [x]disabled, [i]nstalled
Enable the desired PHP module version. For example, for PHP 8.4, run the following command:
dnf module reset php -y
dnf module enable php:remi-8.4 -y
Once the repository is active, we can proceed with installing PHP along with the commonly used essential modules:
dnf install -y php php-cli php-common php-mysqlnd php-fpm php-opcache php-gd php-curl php-mbstring php-xml php-json php-soap php-bcmath
Check the installed PHP version with the following command:
php -v
Install MariaDB
MariaDB is a replacement for MySQL and is compatible with MySQL-based applications. Run the following command to install it:
dnf module list mariadb
Output example:
AlmaLinux 8 - AppStream
Name                                Stream                               Profiles                                               Summary
mariadb                             10.3 [d]                             client, galera, server [d]                             MariaDB Module
mariadb                             10.5                                 client, galera, server [d]                             MariaDB Module
mariadb                             10.11                                client, galera, server [d]                             MariaDB Module

Hint: [d]efault, [e]nabled, [x]disabled, [i]nstalled
The output above shows that the default version of MariaDB is 10.11 (the latest version from the OS). However, we'll use MariaDB version 11.4.7 using the official repository at https://mariadb.org/download/ and then reset MariaDB to remove it from the OS's default repository:
dnf module reset mariadb
Run the following command to add the MariaDB version 11.4.7 repository:
nano /etc/yum.repos.d/MariaDB.repo
Add the following parameters:
# MariaDB 11.4 RedHatEnterpriseLinux repository list - created 2025-07-31 14:04 UTC
# https://mariadb.org/download/
[mariadb]
name = MariaDB
# rpm.mariadb.org is a dynamic mirror if your preferred mirror goes offline. See https://mariadb.org/mirrorbits/ for details.
# baseurl = https://rpm.mariadb.org/11.4/rhel/$releasever/$basearch
baseurl = https://mirror.its.dal.ca/mariadb/yum/11.4/rhel/$releasever/$basearch
module_hotfixes = 1
# gpgkey = https://rpm.mariadb.org/RPM-GPG-KEY-MariaDB
gpgkey = https://mirror.its.dal.ca/mariadb/yum/RPM-GPG-KEY-MariaDB
gpgcheck = 1
Then run the following command to install MariaDB:
dnf install MariaDB-server MariaDB-client
Enable and activate the MariaDB service:
systemctl enable --now mariadb
systemctl status mariadb
Before using it for production or testing, it is best to secure the MariaDB installation first by running the following command:
mariadb-secure-installation
Then follow the instructions that appear:
- Enter current password for root (enter for none) → [ENTER]
- Switch to unix_socket authentication → Y
- Change the root password? → Y
- Remove anonymous users? → Y
- Disallow root login remotely? Y
- Remove test database and access to it? Y
- Reload privilege tables now? Y
Install Shopware
Before installing the latest Shopware version 6, we will first create a virtual host and database (to store Shopware content, configuration, and structure). Run the following command to create a virtual host:
Make sure you are using a valid domain (FQDN) and that the DNS A record is pointed to the server IP address used on the server.
nano /etc/httpd/conf.d/focusnic.biz.id.conf
Fill in the following parameters:
<VirtualHost *:80>
    ServerAdmin webmaster@focusnic.biz.id
    ServerName focusnic.biz.id
    ServerAlias www.focusnic.biz.id
    DocumentRoot /var/www/focusnic.biz.id/shopwareapp/public

    <Directory /var/www/focusnic.biz.id>
        AllowOverride All
        Require all granted
    </Directory>

    ErrorLog /var/log/httpd/focusnic.biz.id-error.log
    CustomLog /var/log/httpd/focusnic.biz.id-access.log combined
</VirtualHost>
Then create a directory on the virtualhost above:
mkdir -p /var/www/focusnic.biz.id/
Restart Apache to save changes:
apachectl configtest
systemctl restart httpd
Create a database by running the following command:
mariadb
Then run the following command to create a database, user, and password:
create database shopware_db;
create user 'shopware_user'@'localhost' identified by 'g4bJ9u0opOiNKWbs';
grant all on shopware_db.* to 'shopware_user'@'localhost';
flush privileges;
quit;
Download composer and install it with the following command:
Composer will be needed for Shopware management such as installing dependencies and other requirements during development or production.
curl -sS https://getcomposer.org/installer | php
mv composer.phar /usr/local/bin/composer
Check composer version:
composer --version
Output example:
Composer version 2.8.10 2025-07-10 19:08:33
PHP version 8.4.10 (/usr/bin/php)
Download the Shopware file and place it in the directory according to the virtual host, we will download Shopware and create a project with the name shopwareapp using composer:
cd /var/www/focusnic.biz.id
composer create-project shopware/production shopwareapp
Tweak PHP configuration memory_limit to 512M:
nano /etc/php.ini
Adjust the following parameters or comment out the following parameters and create new values:
;memory_limit = 128M
memory_limit = 512M
Tweak PHP configuration opcache.memory_consumption to 256M:
nano /etc/php.d/10-opcache.ini
Adjust the following parameters or comment out the following parameters and create new values:
;opcache.memory_consumption=128
opcache.memory_consumption=256
Restart php-fpm to save changes:
systemctl restart php-fpm
Adjust permissions:
find /var/www/focusnic.biz.id/shopwareapp -type f -exec chmod 644 {} \;
find /var/www/focusnic.biz.id/shopwareapp -type d -exec chmod 755 {} \;
chown -R apache:apache /var/www/focusnic.biz.id
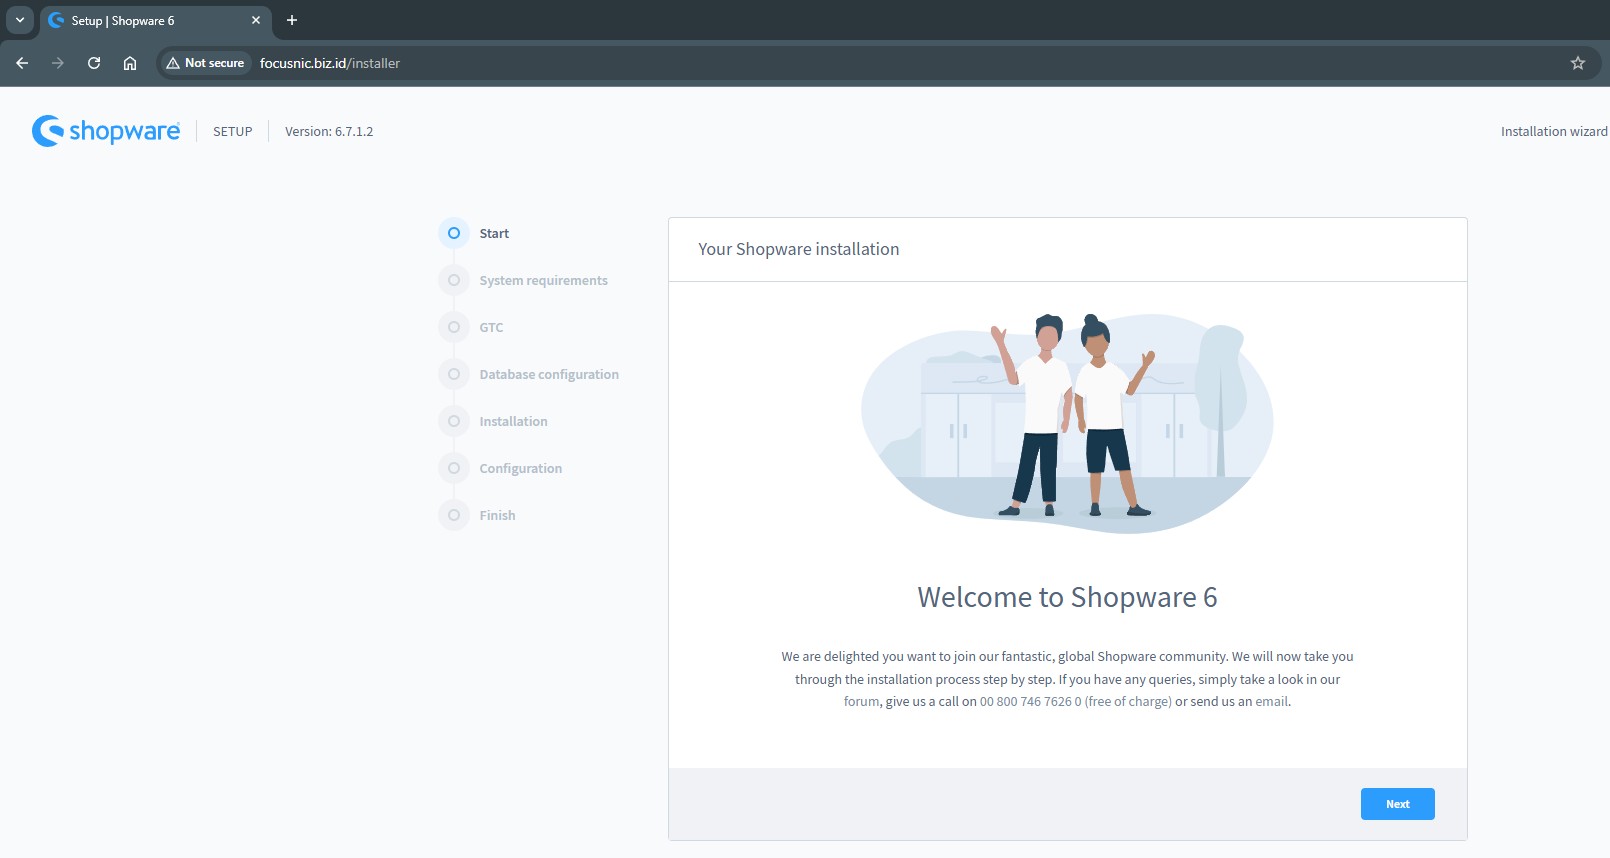
Access the Shopware installation via a browser, for example: http://focusnic.biz.id/installer then click "Next"
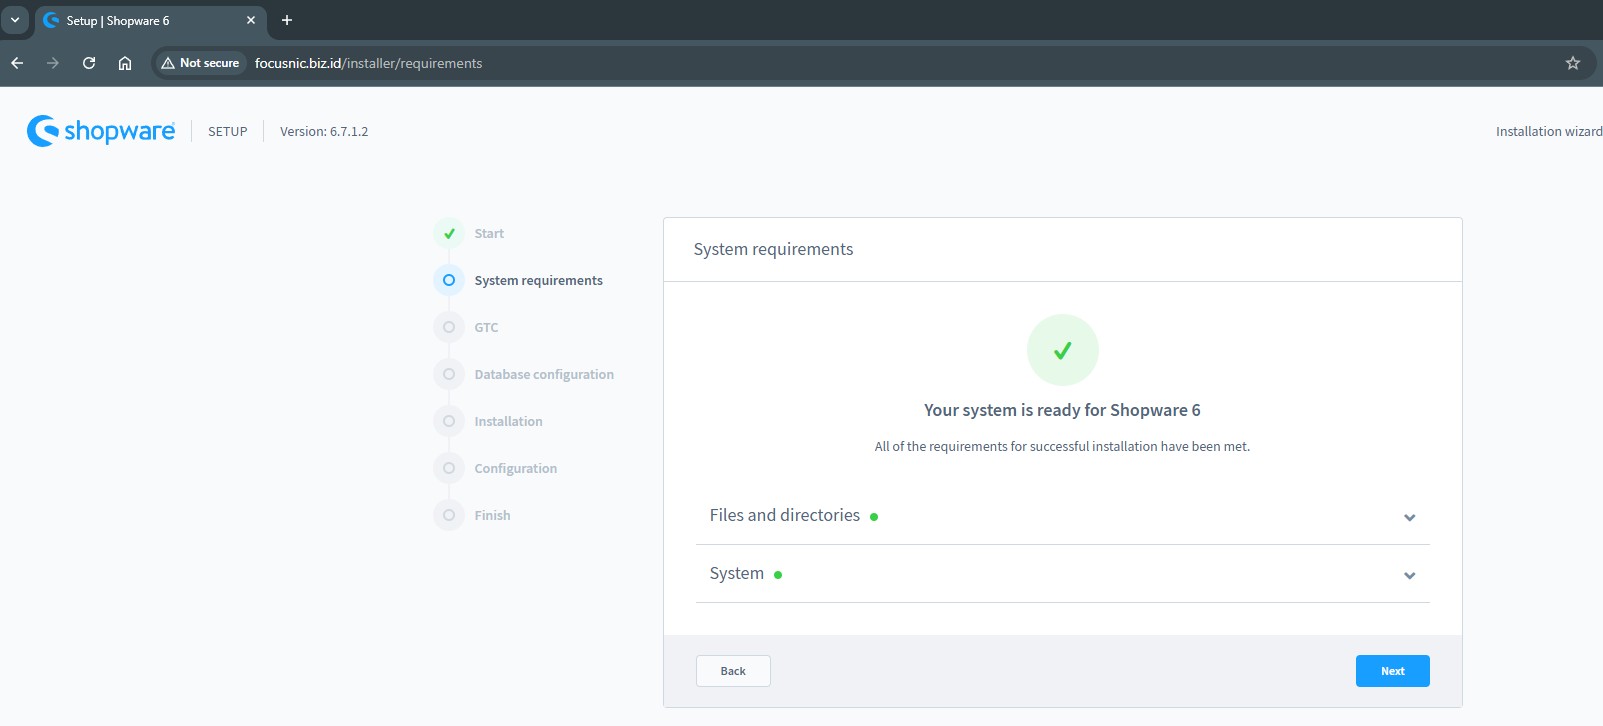
Make sure the Shopware requirements are met as follows
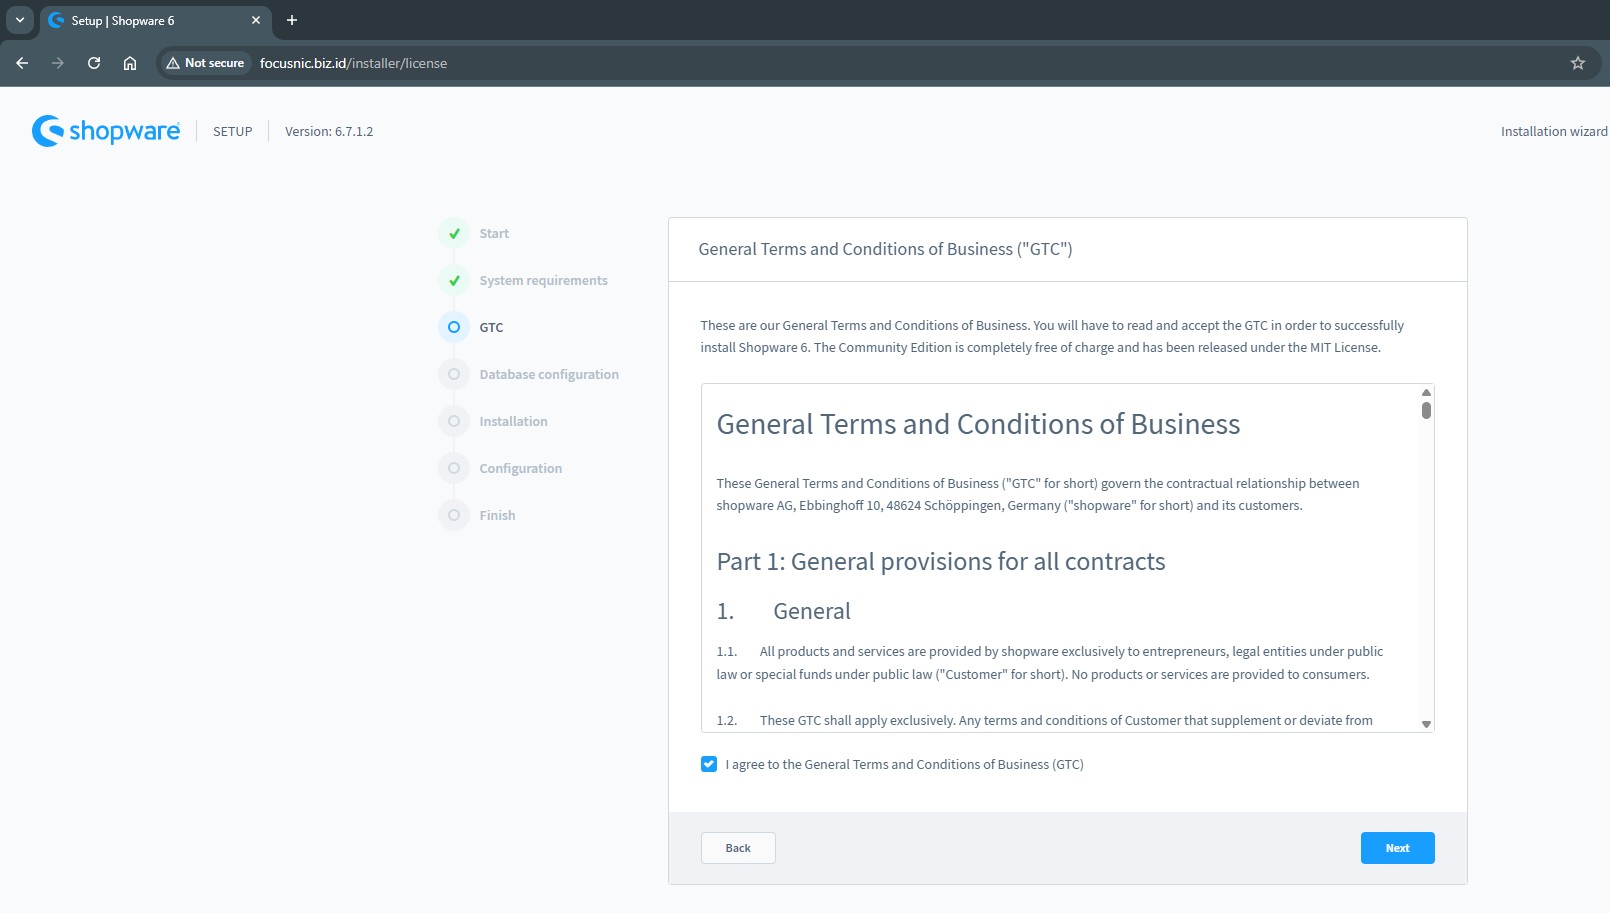
Agree to the Shopware license agreement
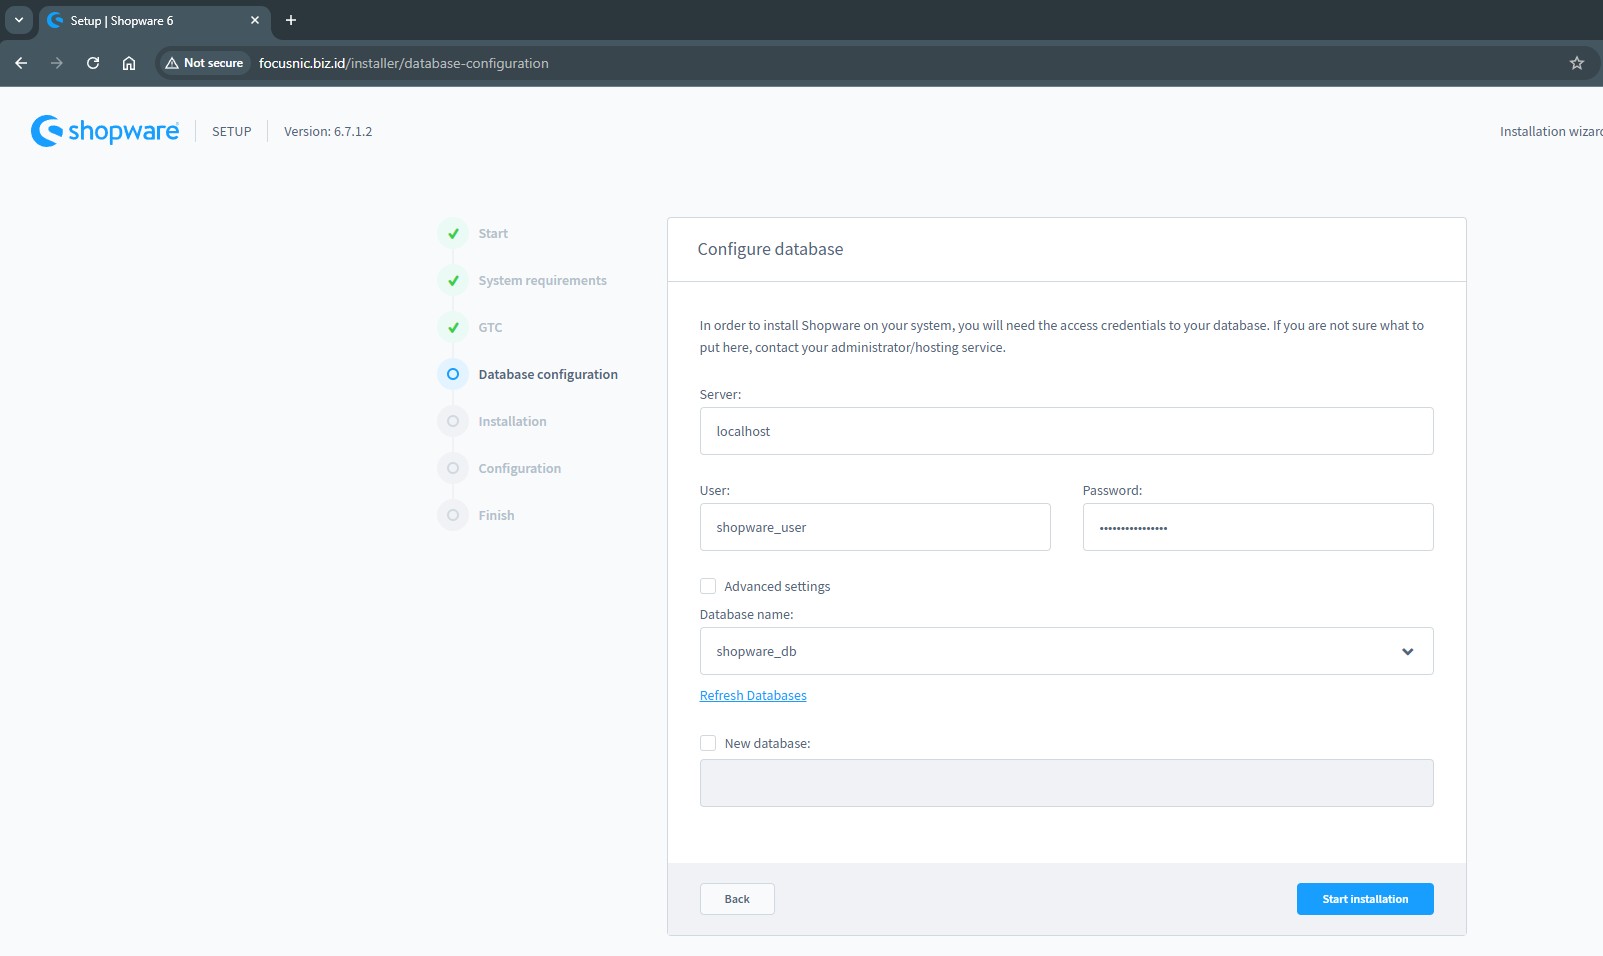
Fill in the previously created database information such as db, username, and password.
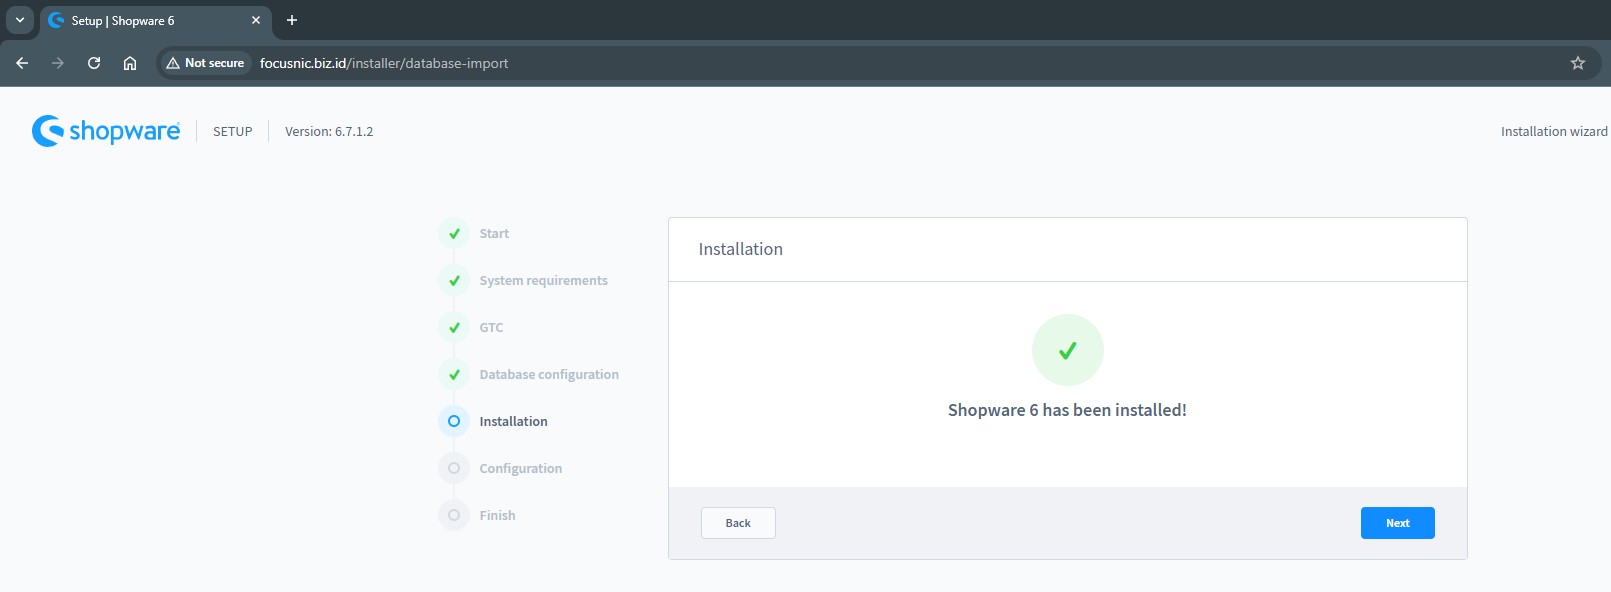
Wait for the Shopware installation process to complete, then click "Next"
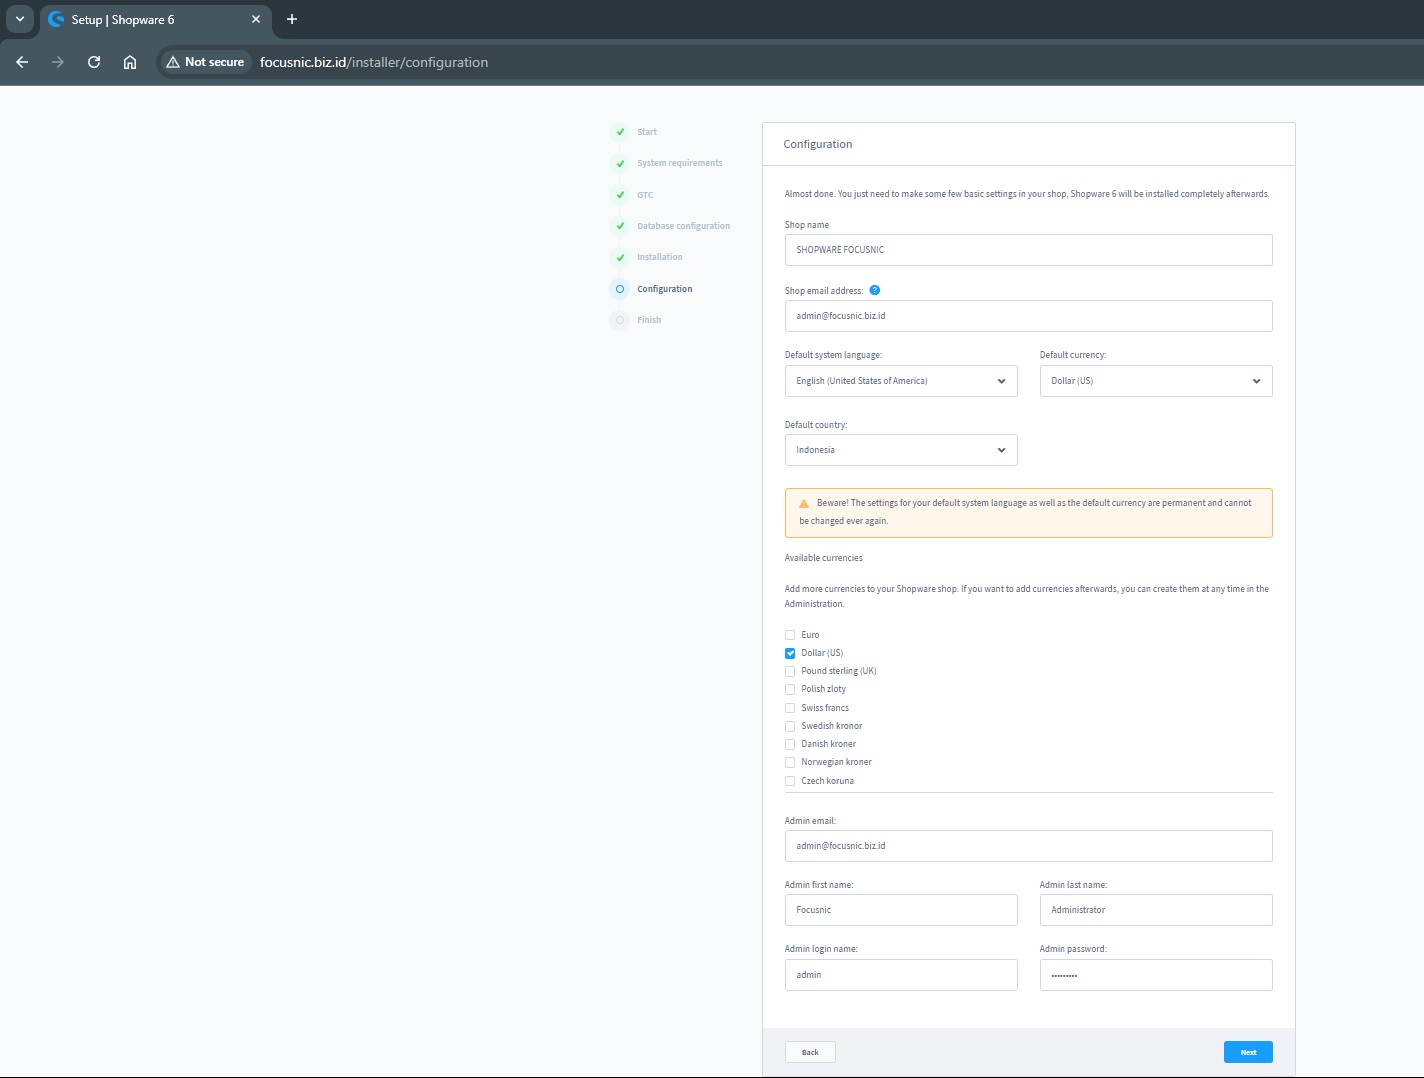
Then fill in the Shopware and admin user information.
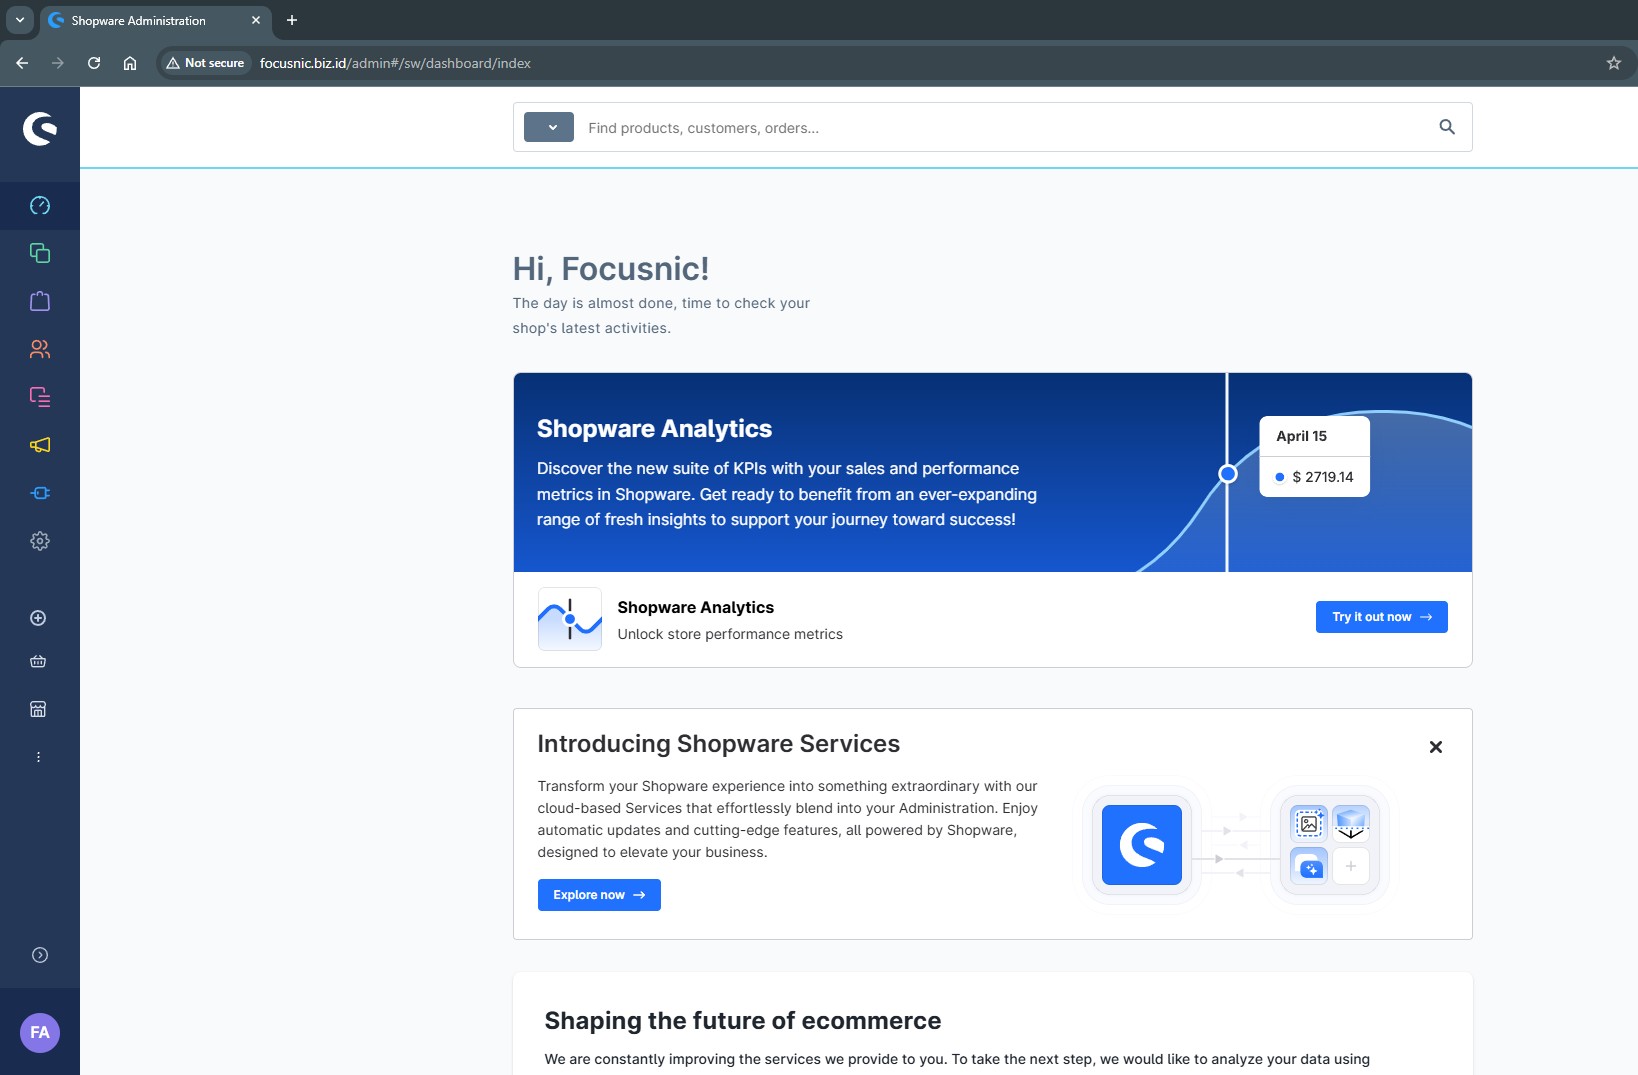
Here is the Shopware admin dashboard view via http://$DOMAIN/admin
Make sure to log in to the admin page first to setup Store Shopware so that Store Front can display properly.
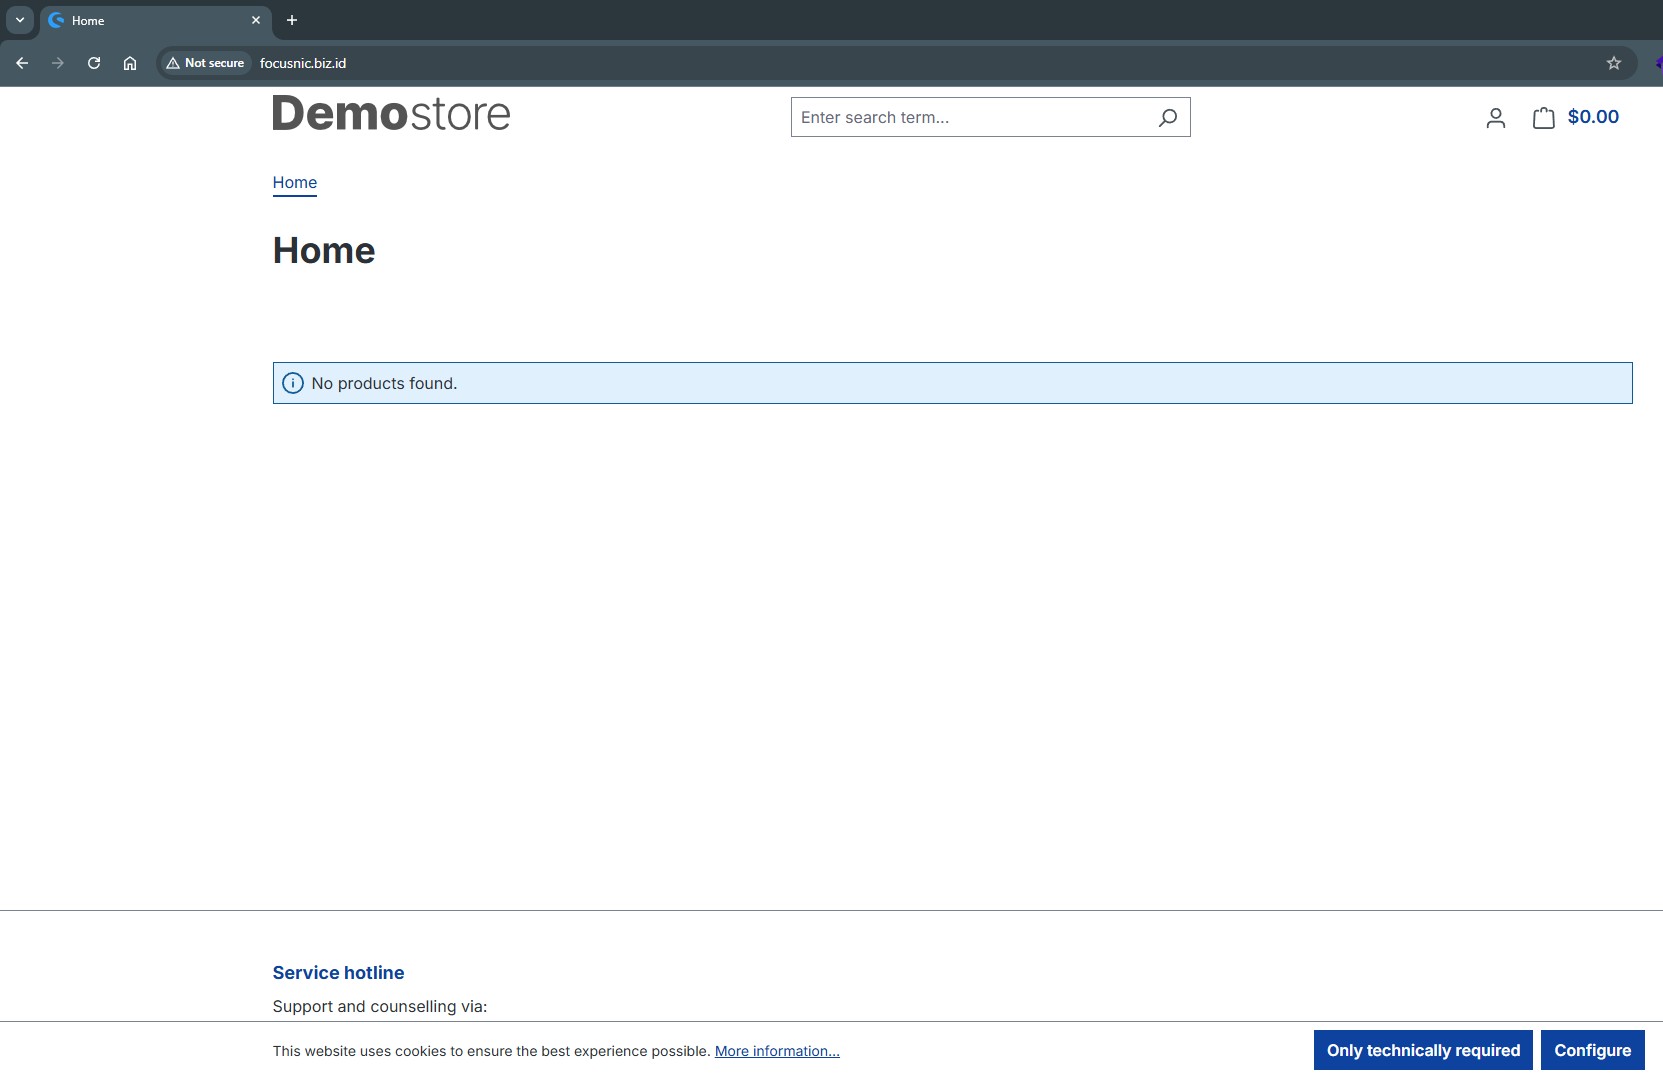
Easy access to Software storefront pages
Troubleshooting
- Access the Admin blank page
- Check the error log at
/var/log/httpd/focusnic.biz.id-error.log - Ensure PHP extensions are complete
- The installation cannot continue or is stuck at the
memory_limitparameter.
Here's the solution. Tweak the PHP memory_limit configuration to 512M:
nano /etc/php.ini
Adjust the following parameters or comment out the following parameters and create new values:
;memory_limit = 128M
memory_limit = 512M
Restart php-fpm:
systemctl restart php-fpm
- 500 Internal Error in Shopware
Make sure the folder is owned by the apache web server user:
find /var/www/focusnic.biz.id/shopwareapp -type f -exec chmod 644 {} \;
find /var/www/focusnic.biz.id/shopwareapp -type d -exec chmod 755 {} \;
chown -R apache:apache /var/www/focusnic.biz.id
Conclusion
Installing Shopware on AlmaLinux 8 using the LAMP Stack requires precise configuration for optimal performance. From installing Apache, MariaDB, and PHP to configuring virtual hosts, everything must be done meticulously to ensure your online store is ready to serve customers quickly and securely.
Q: Can you install Shopware 6 without Composer?
A: Yes, by downloading the ZIP package from Shopware, but updating and managing dependencies is more difficult.
Q: Is this installation suitable for production?
A: Yes, as long as you use the Apache/Nginx production setup, SSL is enabled, and file permissions are correct.
Q: Can you use HTTPS directly?
A: Yes, make sure the SSL certificate is installed on the server.
Q: Is Composer mandatory for Shopware 6?
A: Not mandatory, but Composer makes it easier to update and install dependencies.
Further References: