Complete Guide on How to Install OJS using LAMP Stack on AlmaLinux 8
Open Journal Systems (OJS) is one of the most popular open source platforms used for digitally managing scientific journals. Many universities, research institutions, and even international journal publishers trust OJS as their online publication system. In this guide, we will discuss in detail how to install OJS using the LAMP Stack on AlmaLinux 8.
By following this guide, we can build a scientific journal management system that is stable, secure, and performs optimally.
Prerequisites
- Full root access
- Domain (optional)
- Basic Linux Command Line
Preparation
Make sure the firewall and SELinux have been adjusted or temporarily disabled if you want to avoid problems during the initial installation.
Before starting the Shopware installation, make sure your AlmaLinux 8 server is up to date and ready to install the LAMP Stack (Linux, Apache, MariaDB, PHP).
dnf update -y
dnf install epel-release -y
Install Apache
Apache is a reliable web server and is widely used in production environments. To install it, run the following command:
dnf install httpd -y
Once the installation is complete, enable and start the Apache service with the following command:
systemctl enable --now httpd
To allow access to the server via HTTP and HTTPS, allow the firewall:
firewall-cmd --permanent --add-service={http,https}
firewall-cmd --reload
Install PHP
PHP (Hypertext Preprocessor) is a server-side programming language that is crucial in this stack. We will install PHP 8 from the Remi Repository to use the latest version of PHP.
Run the following command to install the Remi Repository:
dnf install -y https://rpms.remirepo.net/enterprise/remi-release-8.rpm
Then list the available PHP using the following command:
dnf module list php
Output example:
AlmaLinux 8 - AppStream
Name                            Stream                              Profiles                                              Summary
php                             7.2 [d]                             common [d], devel, minimal                            PHP scripting language
php                             7.3                                 common [d], devel, minimal                            PHP scripting language
php                             7.4                                 common [d], devel, minimal                            PHP scripting language
php                             8.0                                 common [d], devel, minimal                            PHP scripting language
php                             8.2                                 common [d], devel, minimal                            PHP scripting language

Remi's Modular repository for Enterprise Linux 8 - x86_64
Name                            Stream                              Profiles                                              Summary
php                             remi-7.2                            common [d], devel, minimal                            PHP scripting language
php                             remi-7.3                            common [d], devel, minimal                            PHP scripting language
php                             remi-7.4                            common [d], devel, minimal                            PHP scripting language
php                             remi-8.0                            common [d], devel, minimal                            PHP scripting language
php                             remi-8.1                            common [d], devel, minimal                            PHP scripting language
php                             remi-8.2                            common [d], devel, minimal                            PHP scripting language
php                             remi-8.3                            common [d], devel, minimal                            PHP scripting language
php                             remi-8.4                            common [d], devel, minimal                            PHP scripting language

Hint: [d]efault, [e]nabled, [x]disabled, [i]nstalled
Enable the desired PHP module version. For example, for PHP 8.4, run the following command:
dnf module reset php -y
dnf module enable php:remi-8.4 -y
Once the repository is active, we can proceed with installing PHP along with the commonly used essential modules:
dnf install -y php php-cli php-common php-mysqlnd php-fpm php-opcache php-gd php-curl php-mbstring php-xml php-json php-soap php-bcmath php-zip php-intl php-posix php-imap php-ldap
Check the installed PHP version with the following command:
php -v
Install MariaDB
MariaDB is a replacement for MySQL and is compatible with MySQL-based applications. Run the following command to install it:
dnf module list mariadb
Output example:
AlmaLinux 8 - AppStream
Name                                Stream                               Profiles                                               Summary
mariadb                             10.3 [d]                             client, galera, server [d]                             MariaDB Module
mariadb                             10.5                                 client, galera, server [d]                             MariaDB Module
mariadb                             10.11                                client, galera, server [d]                             MariaDB Module

Hint: [d]efault, [e]nabled, [x]disabled, [i]nstalled
The output above shows that the default version of MariaDB is 10.11 (the latest version from the OS). However, we'll use MariaDB version 11.4.7 using the official repository at https://mariadb.org/download/ and then reset MariaDB to remove it from the OS's default repository:
dnf module reset mariadb
Run the following command to add the MariaDB version 11.4.7 repository:
nano /etc/yum.repos.d/MariaDB.repo
Add the following parameters:
# MariaDB 11.4 RedHatEnterpriseLinux repository list - created 2025-07-31 14:04 UTC
# https://mariadb.org/download/
[mariadb]
name = MariaDB
# rpm.mariadb.org is a dynamic mirror if your preferred mirror goes offline. See https://mariadb.org/mirrorbits/ for details.
# baseurl = https://rpm.mariadb.org/11.4/rhel/$releasever/$basearch
baseurl = https://mirror.its.dal.ca/mariadb/yum/11.4/rhel/$releasever/$basearch
module_hotfixes = 1
# gpgkey = https://rpm.mariadb.org/RPM-GPG-KEY-MariaDB
gpgkey = https://mirror.its.dal.ca/mariadb/yum/RPM-GPG-KEY-MariaDB
gpgcheck = 1
Then run the following command to install MariaDB:
dnf install MariaDB-server MariaDB-client
Enable and activate the MariaDB service:
systemctl enable --now mariadb
systemctl status mariadb
Before using it for production or testing, it is best to secure the MariaDB installation first by running the following command:
mariadb-secure-installation
Then follow the instructions that appear:
- Enter current password for root (enter for none) → [ENTER]
- Switch to unix_socket authentication → Y
- Change the root password? → Y
- Remove anonymous users? → Y
- Disallow root login remotely? Y
- Remove test database and access to it? Y
- Reload privilege tables now? Y
Install OJS
Before installing OJS version 3.5, we will first create a virtual host and database (to store OJS content, configuration, and structure). Run the following command to create a virtual host:
Make sure you are using a valid domain (FQDN) and that the DNS A record is pointed to the server IP address used on your server.
nano /etc/httpd/conf.d/focusnic.biz.id.conf
Fill in the following parameters:
<VirtualHost *:80>
    ServerAdmin webmaster@focusnic.biz.id
    ServerName focusnic.biz.id
    ServerAlias www.focusnic.biz.id
    DocumentRoot /var/www/focusnic.biz.id/public_html

    <Directory /var/www/focusnic.biz.id>
        AllowOverride All
        Require all granted
    </Directory>

    ErrorLog /var/log/httpd/focusnic.biz.id-error.log
    CustomLog /var/log/httpd/focusnic.biz.id-access.log combined
</VirtualHost>
Then create a directory on the virtual host above and a files directory to upload the data in OJS:
mkdir -p /var/www/focusnic.biz.id/public_html
mkdir /var/www/focusnic.biz.id/files
Restart Apache to save changes:
apachectl configtest
systemctl restart httpd
Change the php.ini configuration with the following command:
nano /etc/php.ini
Adjust according to the following parameters:
max_execution_time = 180
max_input_time = 180
memory_limit = 256M
post_max_size = 50M
upload_max_filesize = 50M
Then restart php-fpm to save the changes with the following command:
systemctl restart php-fpm
Create a database by running the following command:
mariadb
Then run the following command to create a database, user, and password:
create database ojs_db;
create user 'ojs_user'@'localhost' identified by 'aAHldpnbfY4GSGa3';
grant all on ojs_db.* to 'ojs_user'@'localhost';
flush privileges;
quit;
Download the OJS file and place it in the appropriate directory on the virtual host:
cd /var/www/focusnic.biz.id/public_html
wget https://pkp.sfu.ca/ojs/download/ojs-3.5.0-1.tar.gz
tar -xf ojs-3.5.0-1.tar.gz
mv ojs-3.5.0-1/* .
Adjust permissions:
find /var/www/focusnic.biz.id/public_html -type f -exec chmod 644 {} \;
find /var/www/focusnic.biz.id/public_html -type d -exec chmod 755 {} \;
chown -R apache:apache /var/www/focusnic.biz.id
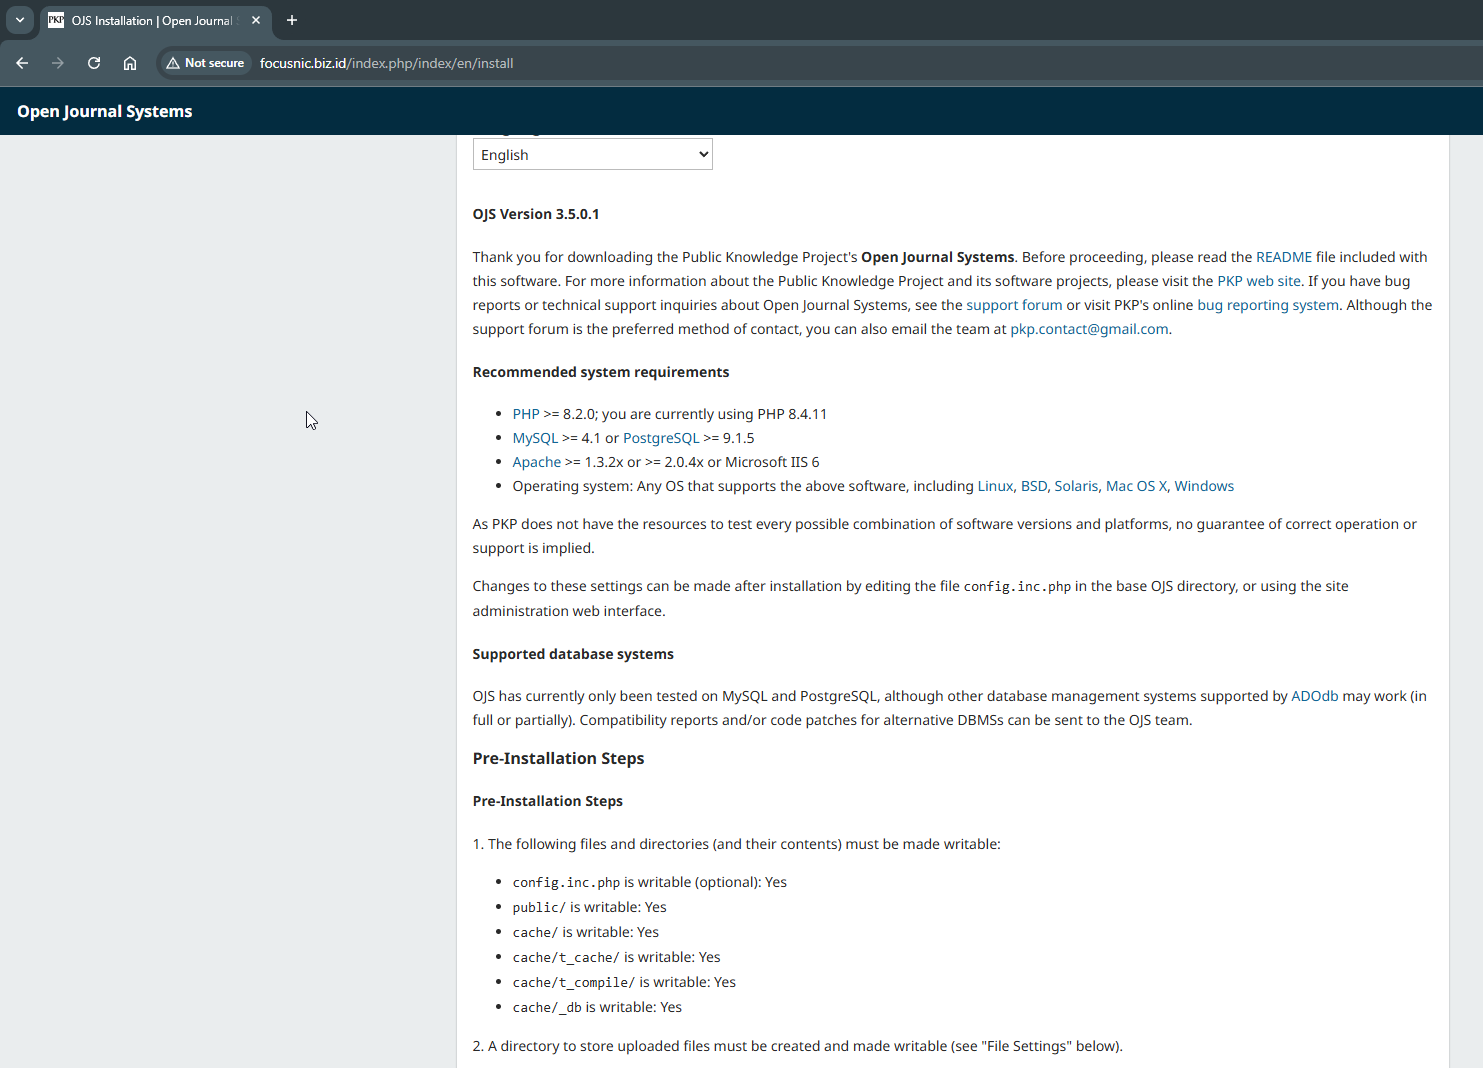
Continue installing OJS through your browser by typing the domain name or IP address. OJS will then perform a system check to ensure the directory is writable.
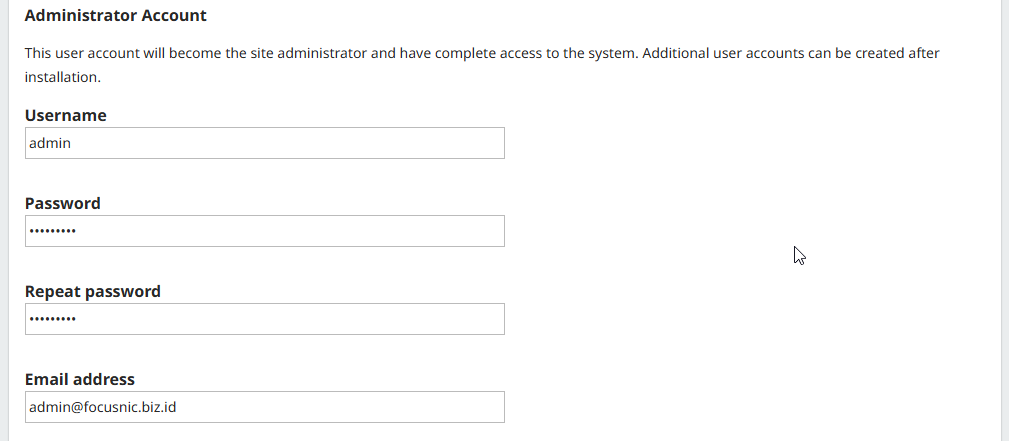
Then, create an administrator account for OJS and continue with setting the language and timezone.
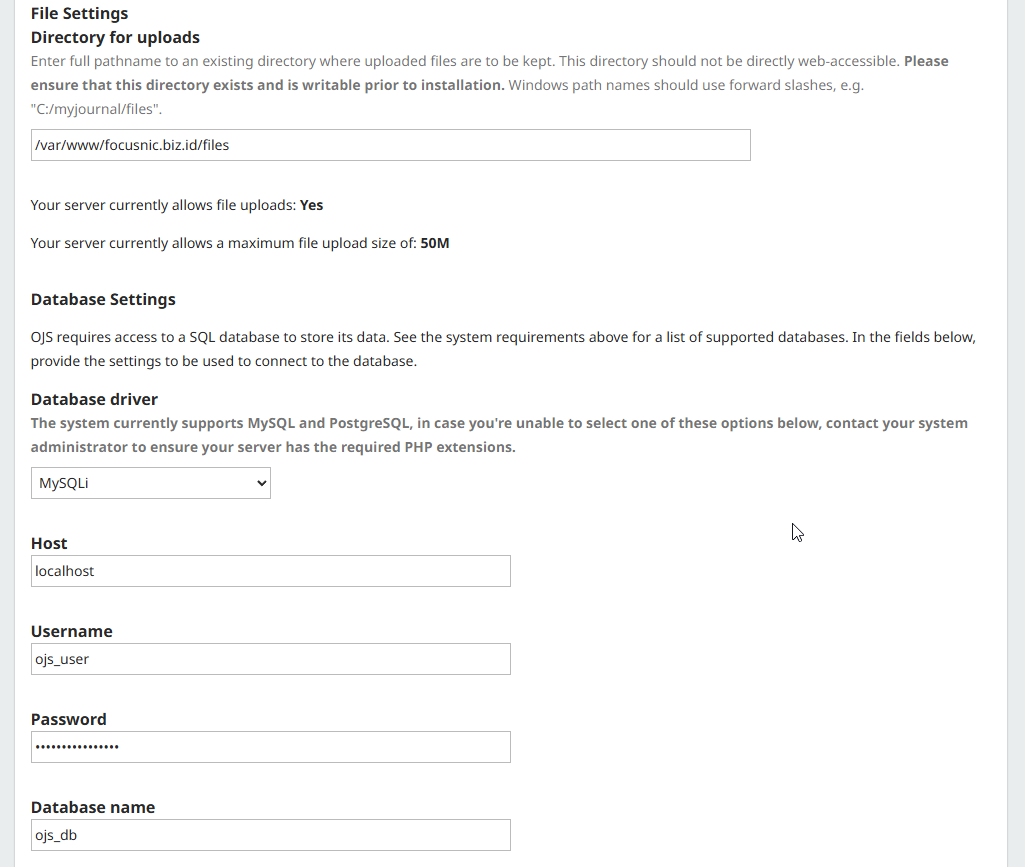
Set the directory for uploading data and configure the database you created earlier. Then click "Install Open Journal Systems."
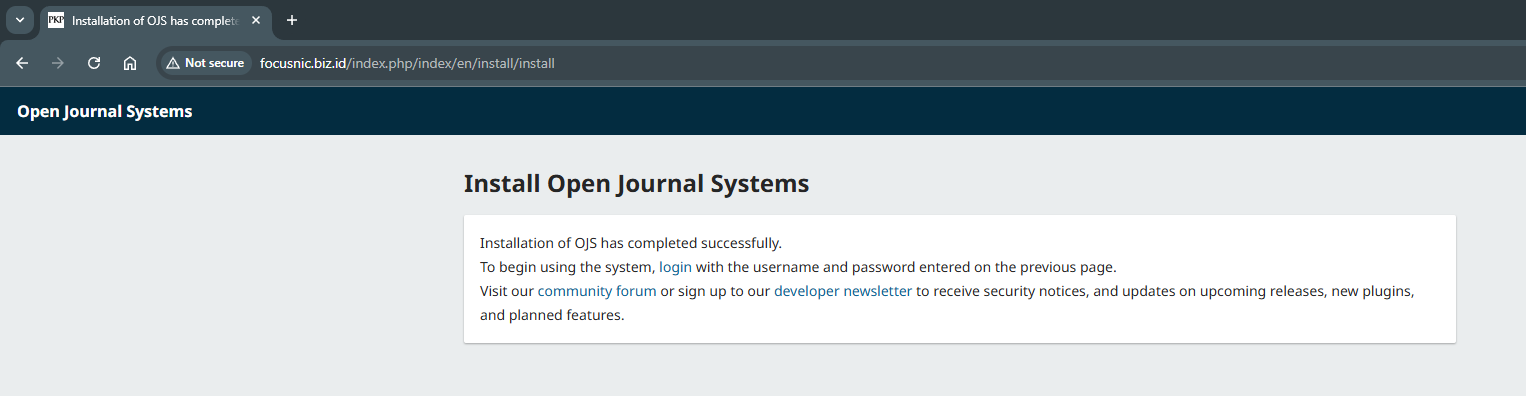
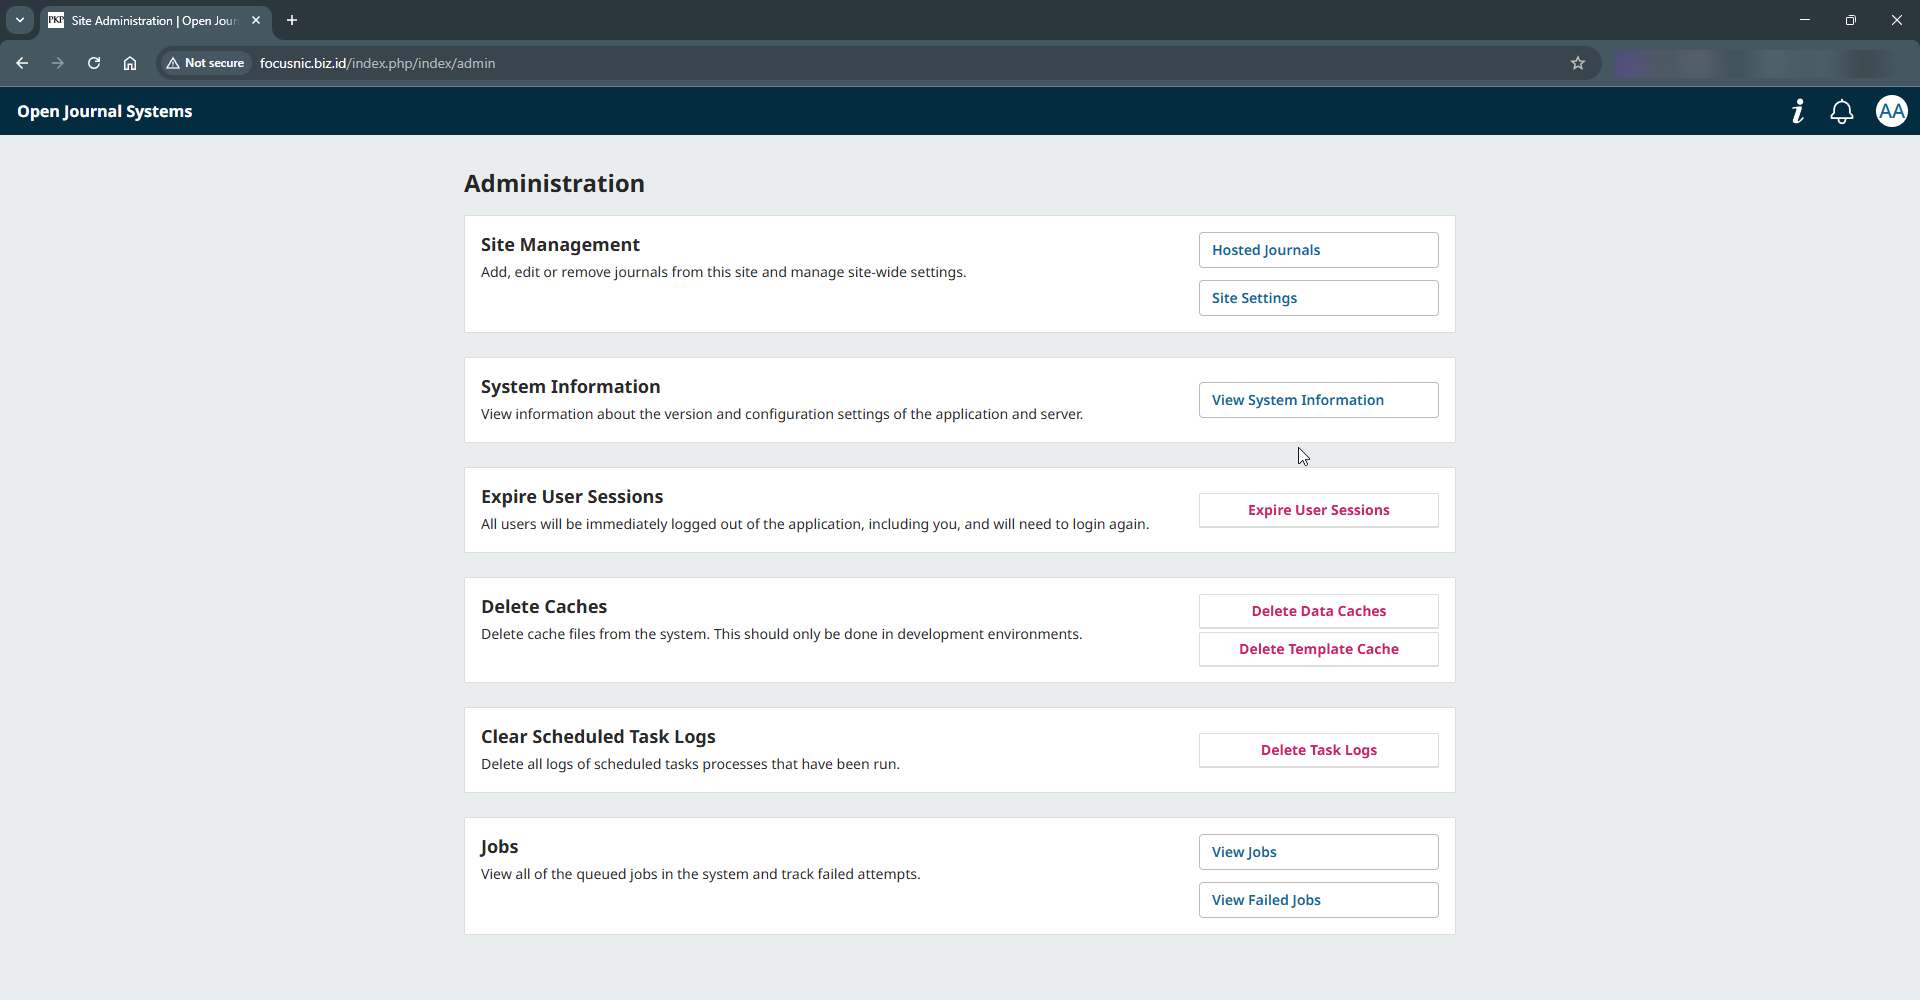
You will get the following results if OJS has been successfully installed.
The following is a view of the OJS dashboard which can be accessed via http://$DOMAIN/index.php/index/login
Troubleshooting
- Error 500 Internal Server Error after OJS installation
This usually occurs due to incorrect file and folder permissions or an inactive PHP module. Adjust the permissions with the following command:
find /var/www/focusnic.biz.id/public_html -type f -exec chmod 644 {} \;
find /var/www/focusnic.biz.id/public_html -type d -exec chmod 755 {} \;
chown -R apache:apache /var/www/focusnic.biz.id
- Blank OJS Page
Usually because PHP isn't displaying errors or a critical module is disabled. Enable PHP debugging by adding the following to config.inc.php:
nano /var/www/focusnic.biz.id/public_html/config.inc.php
Here are the parameters that need to be adjusted:
display_errors = On
- Problem with Uploading Files (Files cannot be uploaded)
The files directory is not accessible to Apache. Ensure the files folder is outside the web root directory and set permissions with the following command:
mkdir /var/www/focusnic.biz.id/files
chmod -R 755 /var/www/focusnic.biz.id/files
chown -R apache:apache /var/www/focusnic.biz.id/files
Conclusion
The process of installing OJS using the LAMP Stack on AlmaLinux 8 requires several steps, starting with installing Apache, MariaDB, and PHP, and then configuring OJS itself. With this comprehensive guide, we can build a reliable, secure, and publication-ready scientific journal management system.
Q: Can I use Nginx instead of Apache?
A: Yes. OJS can run on top of Nginx, but the configuration is more complex. For beginners, Apache is recommended due to its more comprehensive documentation.
Q: How do I change the appearance in OJS?
A: Go to Administration > Site Settings > Appearance. OJS also supports custom themes by modifying CSS and template files.
Q: Can you use OJS on shared hosting?
A: Yes, but it's not recommended. OJS is more stable and secure when running on a VPS or dedicated server. With shared hosting, performance is limited and technical issues are difficult to overcome.
Further References: